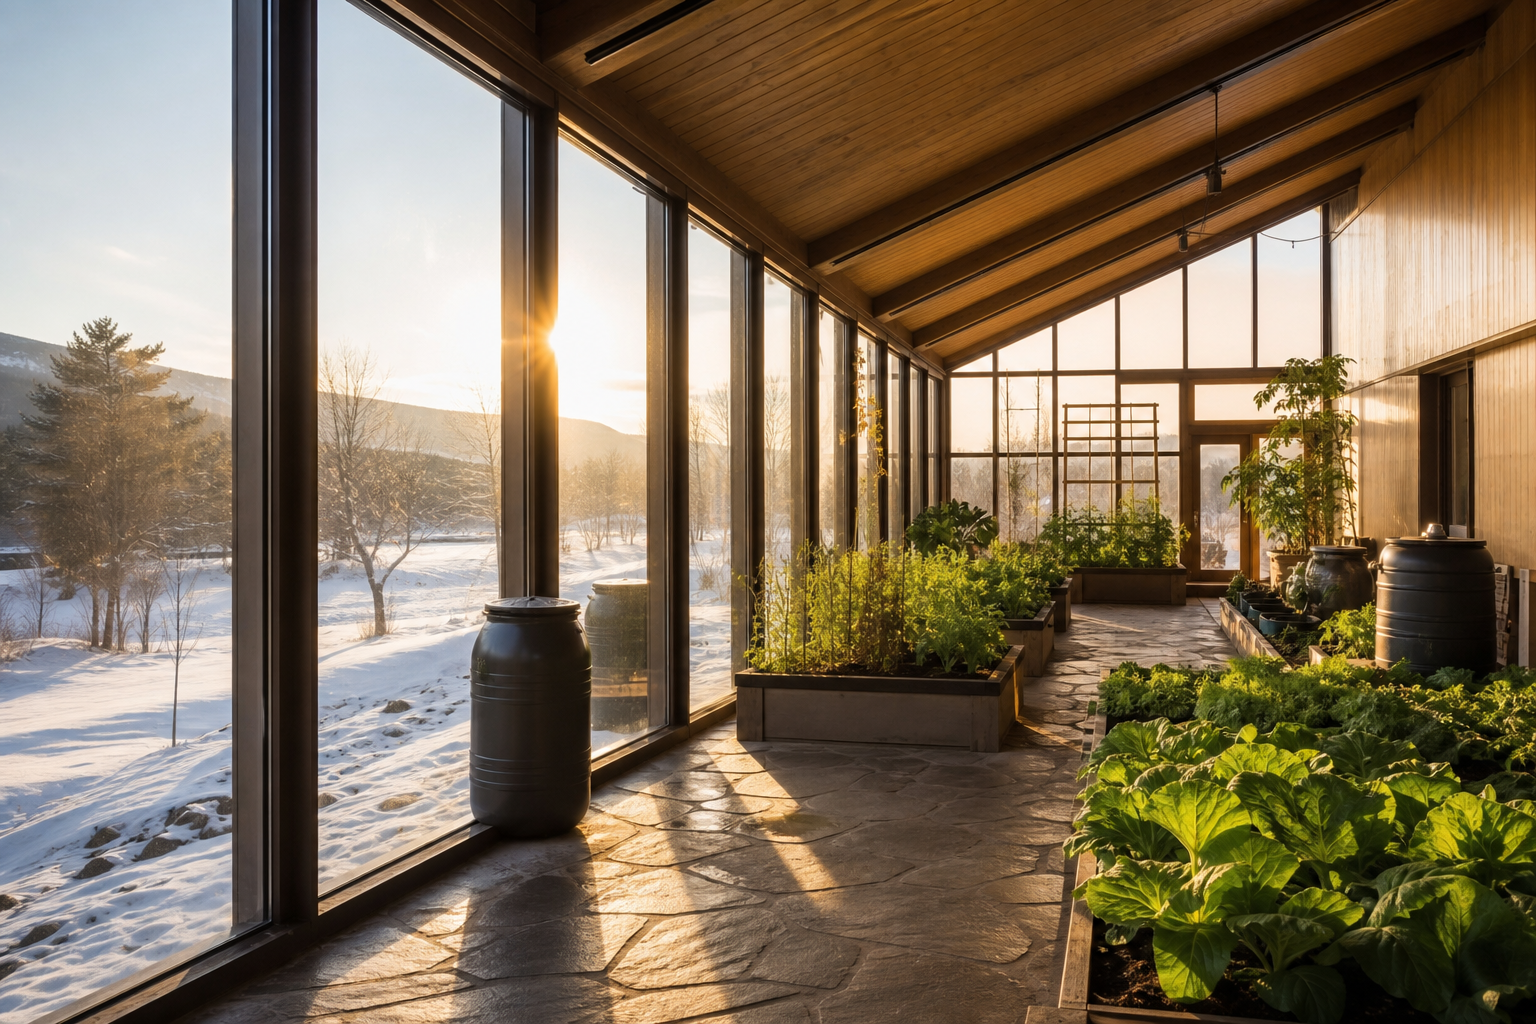

Passive Solar Greenhouse Design Ideas That Work Year-Round: Summary and Key Takeaways
Passive solar greenhouse design works best when the structure collects heat, stores it, slows heat loss, and moves air intentionally. In the original Growing Wild Roots video, A BETTER Greenhouse – Passive Solar Greenhouse – Underground Design, the creator explains at 0:00-0:20 that ordinary greenhouses often fail for one simple reason: they’re too hot during the day and too cold at night.
According to Growing Wild Roots, this greenhouse has operated for more than 10 years and can be used in both winter and summer, especially for heat-loving crops. The design doesn’t depend on one trick. It combines earth contact, concrete, buried rock, insulated glazing, controlled airflow, drip irrigation, and seasonal ventilation.
- Underground placement: the walk-in greenhouse sits about four feet below grade, using the earth as a temperature buffer.
- Thermal mass: poured concrete forms run the length of the greenhouse, and about two feet of rock and concrete pieces sit beneath the topsoil.
- Double-layer plastic: two greenhouse plastic layers are inflated with a small fan so the air gap adds insulation.
- Heat-transfer tubes: three pipes move hot air from the top of the greenhouse into the buried rock layer.
- Plant protection: insulated seedling covers reduce cold shock on spring nights.
- Water and pest systems: drip irrigation waters plants efficiently, and wasps are welcomed for natural pest control.
If you’re planning a backyard greenhouse in 2026, this tour is useful whether you’re comparing DIY greenhouse plans, a kit garden greenhouse, a lean-to greenhouse off house, a lean-to greenhouse off garage, a glass greenhouse, a Victorian greenhouse, a conservatory greenhouse, black greenhouse ideas, or a large greenhouse design for serious food production.

Why a Passive Solar Greenhouse Solves the Biggest Greenhouse Problem
The core problem is temperature swing. As demonstrated in the video at 0:08-0:25, a typical garden greenhouse can trap solar heat so well that plants overheat in the afternoon, then lose that heat quickly after sunset. The same structure can be too hot in July and too cold in January. That’s rough on peppers, tomatoes, basil, eggplant, seedlings, citrus, and tropical plants because roots and young leaves don’t respond well to daily stress.
A passive solar greenhouse is a greenhouse designed to collect solar heat, store part of it in thermal mass, reduce nighttime heat loss, and release warmth slowly without relying primarily on fossil-fuel heating. The word “passive” doesn’t mean there are no fans or controls. In this Growing Wild Roots tour, the creator shows a thermostat-controlled fan system, but the heat source is still the sun.
Standard backyard greenhouse kits often solve only half the problem. Plastic, polycarbonate, and glass greenhouse panels capture sunlight well, but many kits lack insulated non-solar walls, buried heat storage, air circulation below the beds, and root-zone protection. That’s why a kit can feel tropical at p.m. and near freezing by sunrise.
Before choosing greenhouse design ideas, define your real goal:
- Winter growing: prioritize insulation, thermal mass, glazing angle, and backup heat planning.
- Seed starting: add insulated covers, benches, and stable nighttime temperatures.
- Season extension: focus on low-cost glazing, ventilation, and frost protection.
- Tropical plants: plan for humidity, minimum night temperature, and winter light.
- Summer heat crops: design for airflow, shade cloth, and roll-up sides.
The insulated cover shown around 2:55-3:10 is a good example: it creates a smaller protected zone inside the larger greenhouse, which is often cheaper than heating every cubic foot of air.
Underground Greenhouse Design Ideas: Using Earth as Insulation
At 0:38-0:50, the creator explains that the greenhouse is about four feet underground. That’s the strongest design move in the whole tour. By lowering the growing area below grade, the greenhouse gains protection from wind and uses surrounding soil as a slow-changing thermal buffer.
Soil changes temperature much more slowly than air. Air can swing 30°F or more between afternoon and dawn in some climates, while soil several feet down responds gradually. That doesn’t mean underground greenhouse plans are automatically warm enough for every crop, but earth contact can reduce the speed and severity of temperature swings. For greenhouse gardening, that matters because root-zone stability often matters as much as air temperature.
The reveal at 3:35-3:55 adds another smart detail: according to Growing Wild Roots, this passive solar greenhouse used to be an old pool. Instead of removing a large structure and starting from scratch, the builders converted it into a productive walk-in greenhouse. That’s reclaimed DIY greenhouse design at its best: reuse the shell, add glazing, improve drainage, build soil, and turn a liability into food production space.
If you don’t have an old pool, you still have options:
- Sunken paths: lower the walking aisle while leaving beds higher and better drained.
- Bermed sides: pile soil against non-solar walls for insulation.
- Earth-sheltered north wall: insulate or berm the wall that receives little winter sun.
- Retaining-wall greenhouse: use concrete, block, stone, or engineered timber where soil pressure is present.
- Walipini-style layout: consider only where drainage, groundwater, and safety conditions are suitable.
Underground greenhouse design ideas need caution. Plan drainage before framing, use safe retaining walls, check local codes, and include steps or ramps that stay usable when wet. Low spaces can also trap humid air, so vents, fans, and intake openings matter. If a sunken build is too complex, compare it with a lean-to greenhouse, greenhouse shed, potting shed conversion, garden shed conversion, or garden room with glazing.
Thermal Mass: Concrete, Rocks, Soil, and Greenhouse Flooring Ideas
At 0:50-1:25, the video shows poured concrete forms running down the length of the greenhouse. The creator explains that every inch of concrete increases the structure’s heat storage capacity. That’s the basic “thermal battery” idea: dense material absorbs heat when the greenhouse is sunny, then releases part of that heat after temperatures drop.
The most practical detail is below the soil. As shown in the tour, roughly two feet of rocks and concrete pieces sit under the topsoil. That layer performs two jobs: it improves drainage and stores heat. In our experience reviewing passive greenhouse builds, materials that do two jobs are usually the ones worth prioritizing because they save space, labor, and money.
Greenhouse flooring ideas should be chosen for drainage, heat storage, cleaning, and cost. A luxury greenhouse can use brick paths and stone edging without sacrificing performance. A budget DIY greenhouse can use gravel, reclaimed concrete, and raised beds. A modern greenhouse interior design might combine black metal framing, clean gravel paths, masonry beds, and a few water barrels placed where winter sun reaches them.
| Flooring or mass option | Best use | Tradeoff |
|---|---|---|
| Gravel | Affordable paths, drainage, simple kit bases | Stores some heat but less than concrete or water |
| Concrete slab | Durable floors, carts, clean work zones | Higher cost; needs floor drains or slope |
| Brick or pavers | Brick greenhouse design, attractive paths | Needs a stable permeable base |
| Water barrels | High heat storage near south glazing | Uses floor space and needs algae control |
| Raised beds | Soil control and easier work height | Can dry faster if not mulched |
Use thermal mass with a plan: place it where sun or warm air can reach it, keep it inside the insulated envelope, don’t block drainage, and pair heavy materials with air movement. The buried tube system in this passive solar greenhouse is valuable because it moves warm air into the rock layer instead of hoping heat drifts downward on its own.
Double-Layer Glazing and Insulation for a Better Garden Greenhouse
At 1:25-1:58, Growing Wild Roots shows the greenhouse’s two layers of greenhouse plastic. The creator explains that the air gap between those layers increases insulation while still allowing sunlight to enter. The key detail is simple but easy to miss: if the two plastic layers stick together, the insulating benefit drops.
That’s why this greenhouse uses a small fan to inflate the space through a hole in the plastic. The fan doesn’t heat the greenhouse directly. It maintains the air layer, which reduces heat loss. For many DIY greenhouse builders, inflated double poly is one of the best cost-to-performance choices because it’s lighter and cheaper than glass while performing better than a single plastic skin.
Different greenhouse plans call for different glazing:
- Double poly: budget-friendly, efficient, and common for food production.
- Twin-wall polycarbonate: more durable, tidy-looking, and easier to use on kit greenhouses.
- Glass greenhouse panels: beautiful and long-lasting, but single glass loses heat faster unless upgraded.
- Conservatory greenhouse designs: excellent for attached living spaces, though comfort and condensation control need careful planning.
- Victorian greenhouse designs: ideal for a dream garden or display collection, but winter performance depends on airtightness and wall insulation.
As the video shows at 1:58-2:10, insulation must pair with summer ventilation. The plastic can be rolled up in July and August when the greenhouse gets too hot. That’s an important lesson for any passive solar greenhouse: the same features that save heat in winter can trap too much heat in summer.
Buying checklist for builds:
- Choose UV-rated greenhouse plastic, not ordinary painter’s plastic.
- Inspect inflation fans, tubing, and air gaps at least once a year.
- Seal drafts at doors, baseboards, and low wall joints.
- Add insulated curtains or row-cover tunnels for freezing nights.
- Plan removable panels or roll-up sides before the first heat wave.

Passive Solar Greenhouse Temperature Control: Ventilation, Shading, and Heat Tubes
The most interesting system appears at 2:10-2:48. The creator shows tubes connected to a fan near the top of the greenhouse. Instead of venting all hot air outdoors, the fan pulls heat from the upper air layer and sends it down into the buried rock and concrete layer beneath the beds.
The process is easy to picture: hot air rises, the fan captures it, pipes carry it below the growing area, rocks absorb part of the heat, and stored warmth moves back into the greenhouse later as temperatures fall. The creator identifies three pipes: two on one side and one on the other. That distribution helps carry heat to different parts of the structure rather than dumping all the warm air into one spot.
The greenhouse runs on a thermostat, and the creator notes at 2:48-2:55 that similar systems can use solar sensors. A thermostat makes sense when you want air movement based on temperature. A solar sensor can work when you want the fan to run when sunlight is strong enough to create useful surplus heat. Many builders use both: a thermostat for overheating protection and a timer or solar-triggered fan for daytime charging of the thermal mass.
Don’t stop at heat tubes. Strong greenhouse design ideas should include multiple temperature-control tools:
- Roof vents: release trapped hot air at the highest point.
- Low intake vents: bring cooler air in near the base.
- Roll-up sides: create fast summer airflow in plastic greenhouses.
- Exhaust fans: protect plants during heat spikes.
- Shade cloth: reduce solar load by using seasonal cloth, often 30% to 50% shade for vegetables depending on climate.
- Whitewash or removable panels: cut midsummer heat in glass greenhouse and polycarbonate structures.
- Deciduous vines: shade in summer and allow light after leaf drop.
Climate changes the design. Snow regions need steeper glazing, strong framing, and clearance for shedding snow. Wind regions need anchors, bracing, and lower profiles. Hot regions need shade, high airflow, and sometimes evaporative cooling. Humid regions need constant air exchange because fungal disease can spread quickly when leaves stay wet overnight.
Greenhouse Orientation, Site Placement, and Sun-Path Planning
At 2:55-3:05, the creator explains that not every wall receives sun. That one observation can save you money. If a wall never gets direct sunlight, it doesn’t need to be glazed like the sunny side. It can be insulated, bermed, used for shelves, or backed with thermal mass.
For most Northern Hemisphere passive solar greenhouse designs, the main glazing faces south or southeast. South-facing glazing captures winter sun, while southeast exposure can warm the greenhouse earlier in the morning. The north wall often works better as an insulated wall than a transparent one, especially in cold climates. In the Growing Wild Roots example, some side walls receive no sunlight during the year, so they’re treated as normal insulated walls with hay outside as an additional insulating barrier.
Before choosing a backyard greenhouse location, observe the site at morning, noon, and late afternoon. Do this in winter if possible, because low sun angles make shadows longer. Houses, fences, garages, evergreen trees, and even a potting shed can shade the structure when you need light most.
Attached designs need extra care:
- Lean-to greenhouse off house: south-facing is usually strongest; watch for condensation and building-code issues.
- Lean-to greenhouse off garage: useful if water and power are nearby; avoid shaded north walls unless using grow lights.
- East-facing lean-to: good morning sun, often less overheating.
- West-facing lean-to: strong afternoon heat, useful in cool climates but risky in hot ones.
Compare your layout options before committing. A freestanding walk-in greenhouse gives more sun exposure and flexible placement. A greenhouse shed combination stores tools and plants together. A garden room can support both plants and seating. A large greenhouse design suits market-style production, while a compact DIY greenhouse may be better for outdoor gardens where space is limited.
Site checklist: sun exposure, water access, house-to-greenhouse path, wind protection, drainage slope, electrical access for fans, room for compost and tools, snow-shedding clearance, and space to repair glazing later.

Water, Drainage, and Irrigation Details That Keep Plants Healthy
The under-bed layer in the video does two jobs. At 1:05-1:20, the creator describes rocks and concrete pieces beneath the soil as both drainage and thermal mass. That’s smart because enclosed greenhouses can quickly become too wet at the root zone even when the air feels dry.
At 3:10-3:25, the video shows drip irrigation as one of the greenhouse’s practical features. Drip irrigation is usually better than overhead watering in humid or enclosed spaces because it delivers water to the soil, keeps leaves drier, and reduces the conditions that favor fungal disease. For tomatoes, peppers, basil, cucumbers, and seedlings, dry foliage often means fewer disease problems.
A drainage plan should be built before beds go in:
- Grade the floor slightly so water has somewhere to go.
- Use gravel under paths to prevent standing water.
- Add drain tile, a sump, or an outlet if groundwater is a risk.
- Keep soil beds above saturated zones with raised beds or deep mineral soil.
- Design overflow routes before a storm exposes weak points.
Irrigation options depend on how you grow. Drip lines work well for permanent beds. Micro-sprayers are useful for propagation benches, though they raise humidity. Capillary mats help seed trays water evenly from below. Rainwater tanks can support a greenhouse, but use first-flush diverters and filters so grit doesn’t clog emitters. Hose timers are simple; moisture sensors are better when you’re managing multiple crop zones.
Use this water-management sequence:
- Map zones by crop need: seedlings, fruiting crops, herbs, and overwintered plants.
- Install a filter before drip lines.
- Add shutoff valves for each bed.
- Test flow rate before planting.
- Mulch beds to reduce evaporation.
- Inspect emitters monthly, especially during summer.
Flooring and water are linked. Gravel improves drainage. A concrete slab needs drains or slope. Raised beds reduce compaction. Brick or paver paths should sit over a permeable base unless you intentionally direct water to a drain.
Budget and Build Options: DIY Greenhouse, Kits, and Custom Designs
The pool conversion at 3:35-3:55 is the budget lesson hiding in plain sight. According to Growing Wild Roots, the builders turned an old pool into a productive passive solar greenhouse. That doesn’t make the project free, but it shows how reusing an existing structure can reduce excavation, retaining-wall work, and foundation decisions.
For planning, think in budget tiers rather than fake exact prices:
- Low-cost reclaimed DIY greenhouse: salvaged windows, cattle panels, hoops, used doors, reclaimed pavers, and compost-rich beds. Best for season extension and seed starting.
- Mid-range kit greenhouse: aluminum or wood frame with polycarbonate panels, vents, a gravel pad, benches, and drip irrigation. Best for homeowners who want predictable assembly.
- Custom passive solar greenhouse: excavation, concrete or masonry walls, double glazing, buried ducting, fans, thermostats, drainage, and automatic vents. Best for serious year-round production.
Cost categories to price separately include site work, foundation, framing, glazing, doors, vents, fans, thermostats, irrigation, soil, thermal mass, drainage, benches, shade cloth, and permits. In our experience, builders often underbudget for the unglamorous parts: drainage, vents, fans, and electrical access. Those are exactly the parts that keep plants alive during bad weather.
Foundation options change the whole build:
- Gravel pad: affordable, drains well, good for kits and small backyard greenhouse projects.
- Concrete slab: durable and clean, but more expensive and less forgiving if drainage is poor.
- Sleepers or treated timbers: simple for light DIY greenhouse frames.
- Raised beds over compacted base: practical for food crops and easier soil replacement.
- Masonry walls: attractive for brick greenhouse design and strong thermal mass.
Aesthetics matter too. Black greenhouse ideas suit modern gardens and clean outdoor gardens. Victorian greenhouse and luxury greenhouse plans work well for ornamental collections and a dream garden setting. A conservatory greenhouse makes sense when attached living space is part of the goal. A large greenhouse design is better when production, workflow, and crop rotation matter more than decoration.
Action plan: sketch the footprint, price three build paths, list reclaimed materials you can actually get, check local codes, plan drainage first, and reserve budget for fans, vents, and shading. A beautiful greenhouse that overheats isn’t a better greenhouse.
Conclusion: How to Turn These Greenhouse Design Ideas Into a Build Plan
The Growing Wild Roots video shows why a passive solar greenhouse can outperform a standard garden greenhouse: it treats heat as something to capture, store, move, and protect. The strongest ideas are practical, not flashy: about four feet of earth contact, concrete walls, two feet of rock and concrete under the soil, inflated double plastic, heat-transfer tubes, insulated seedling covers, drip irrigation, and natural pest control.
Your next step is to match the concept to your site. If you have a slope, an old pool, or a strong retaining wall opportunity, an underground or partially buried greenhouse may be realistic. If you have a sunny house wall, a lean-to greenhouse off house could save space and share warmth. If your goal is beauty, a Victorian greenhouse, glass greenhouse, conservatory greenhouse, or black greenhouse can still perform well if you add insulation, ventilation, shading, and thermal mass.
- Pick your main crop goal: winter greens, seedlings, tropicals, or summer vegetables.
- Study the sun path before choosing the footprint.
- Design drainage first, especially for sunken builds.
- Add thermal mass inside the insulated space, not outside it.
- Plan summer cooling with vents, roll-up sides, fans, and shade cloth.
- Budget for controls: thermostats, sensors, irrigation valves, and backup systems.
Watch the original Growing Wild Roots tour here: https://www.youtube.com/watch?v=YkJLy2s2jeM. You can also visit the Growing Wild Roots YouTube channel for more garden tours and practical greenhouse gardening ideas.
Key Takeaways
- A passive solar greenhouse works by combining solar gain, thermal mass, insulation, earth contact, controlled airflow, and water management.
- The Growing Wild Roots greenhouse uses about four feet of underground depth, concrete walls, and two feet of buried rock and concrete as a thermal battery.
- Double-layer inflated greenhouse plastic improves insulation, but it still needs summer ventilation such as roll-up sides, fans, vents, and shade.
- Drainage and irrigation are not side details; gravel, buried rock, drip lines, filters, and overflow routes keep roots healthy in enclosed growing spaces.
- Before building, choose your crop goal, study winter sun, price multiple build paths, check codes, and reserve budget for fans, vents, shading, and controls.
Frequently Asked Questions
What is a passive solar greenhouse?
A passive solar greenhouse captures, stores, and releases solar heat through orientation, insulation, thermal mass, and controlled airflow. In the video at 0:08-0:38, the creator explains that this design fixes the common problem of greenhouses being too hot by day and too cold by night.
Can you use a passive solar greenhouse in winter?
Yes, but winter performance depends on your climate, crop choice, glazing, insulation, and whether you have backup heat. Growing Wild Roots notes at 0:25-0:38 that the featured greenhouse can be used in winter and has operated for more than years.
Why build a greenhouse underground?
At 0:38-0:50, the creator explains that this greenhouse is about four feet below grade, which helps buffer temperature swings and reduce wind exposure. Underground greenhouse plans also need strong drainage, safe retaining walls, and good ventilation because water and humidity can collect in low spaces.
What is the best flooring for a greenhouse?
The best greenhouse flooring depends on drainage, heat storage, budget, and maintenance. As shown at 1:05-1:20, buried rocks and concrete pieces can provide both drainage and thermal mass; gravel, concrete, brick, pavers, and raised beds can also work when matched to the site.
Is a lean-to greenhouse better than a freestanding greenhouse?
A lean-to greenhouse off house or lean-to greenhouse off garage can save space, improve access, and sometimes share heat with an existing wall. A freestanding backyard greenhouse usually gets more flexible sun exposure and fewer condensation or building-code complications.
How do you stop a greenhouse from overheating?
Use several controls together: roll-up glazing, roof vents, low intake vents, exhaust fans, shade cloth, thermostats, solar sensors, and summer panel removal. The video shows at 1:58-2:48 that this greenhouse can roll up plastic in hot months and move excess heat into buried rock through fan-powered tubes.