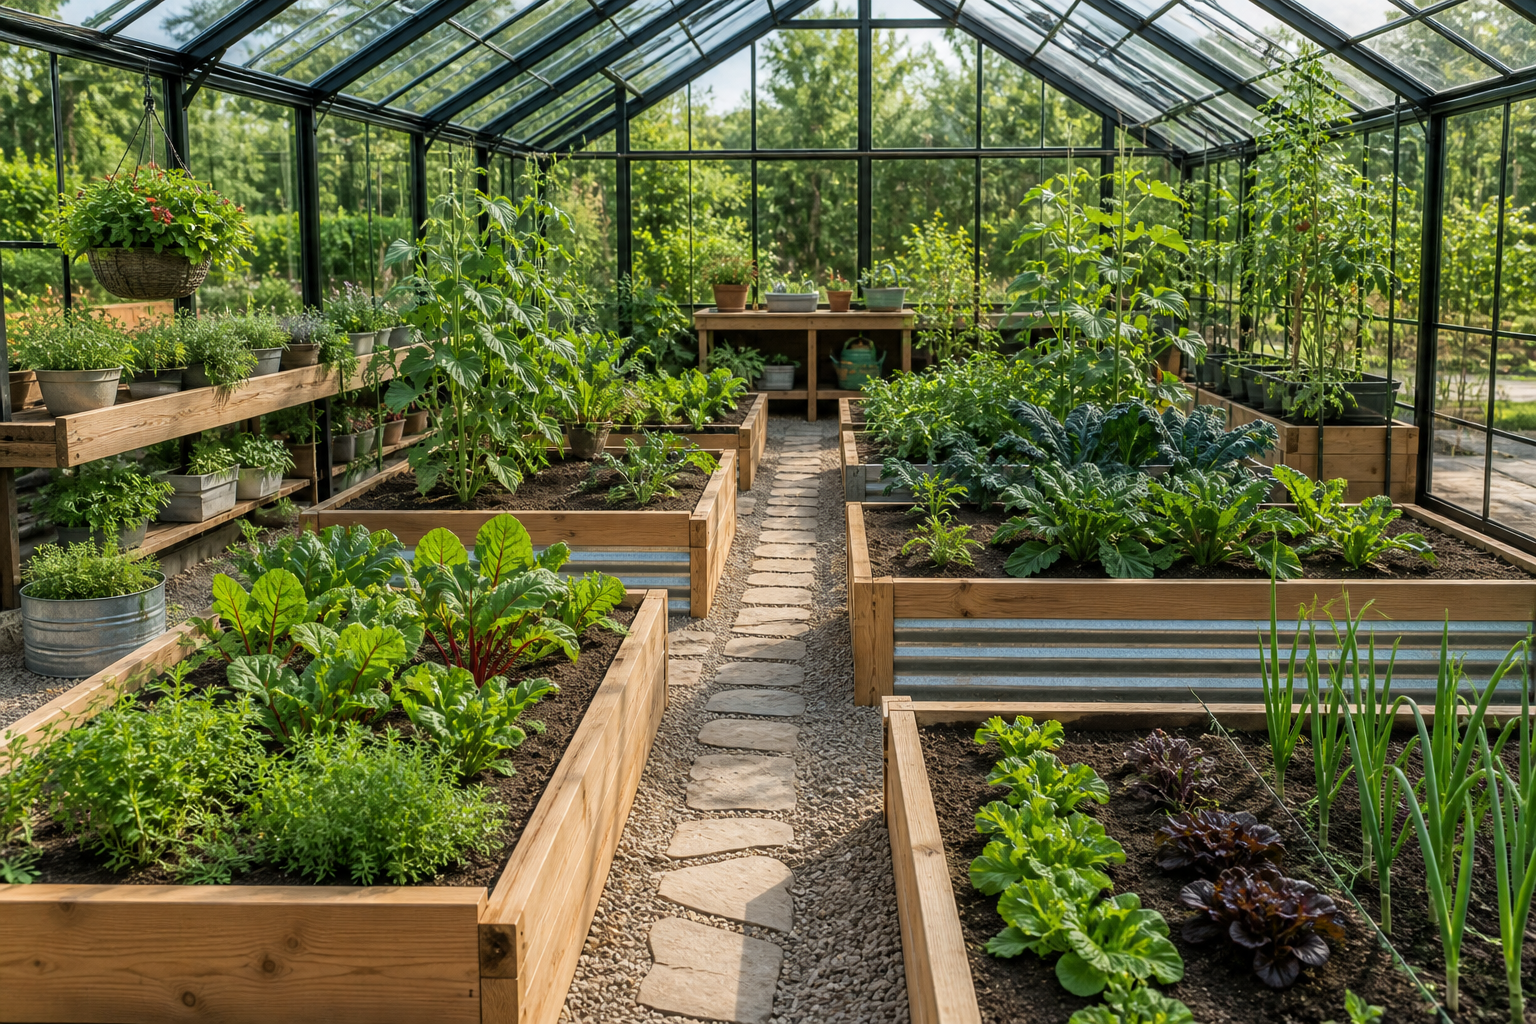

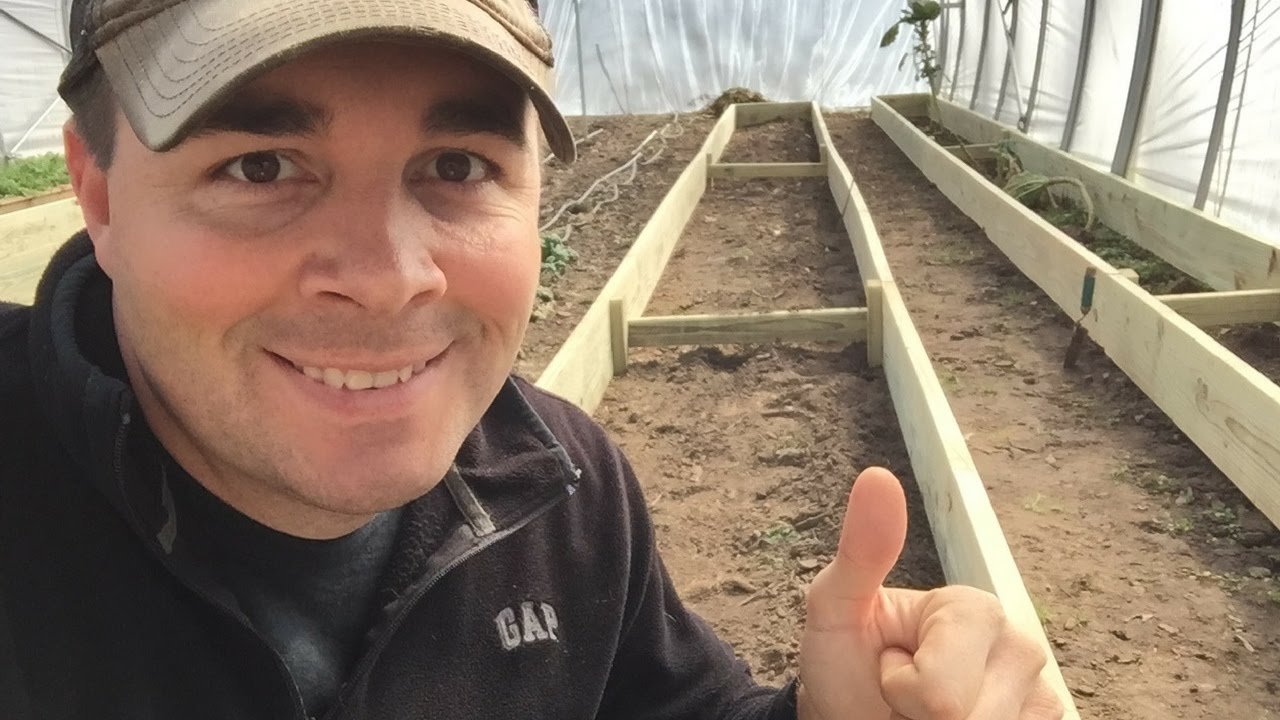
https://www.youtube.com/watch?v=Kk09u3FI5Lg — Greenhouse Raised Beds Summary and Key Takeaways
Greenhouse raised beds can add a large amount of productive growing space without requiring complicated metal fabrication. In the original Arms Family Homestead video, Daniel shows how simple wooden boxes fit inside a high tunnel and can be built much faster than his earlier sheet-metal beds.
At 00:00-01:05, the creator explains that his first three sheet-metal beds took almost hours to build. The replacement design uses pressure-treated 2-by-10 boards, coated deck screws, and short 2-by-4 pieces for reinforcement. He begins framing at about 10:00 and has three bed frames standing by roughly 14:00, making the basic framing process approximately four hours.
The finished arrangement, shown at 07:05-08:45, includes three 40-foot-long beds: one 2-foot-wide bed beside the sidewall and two 3-foot-wide beds. Two-foot walkways separate the beds, while approximately feet remains open for in-ground planting. The narrow side bed preserves access to hand cranks that operate ridge and wall vents, and the open end lets a tractor deliver soil instead of requiring repeated wheelbarrow trips.
That layout is a useful starting point, not a template you must copy in 2026. Your greenhouse frame, climate, tools, local material prices, mobility needs, door locations, and ventilation controls should determine the final dimensions. According to Arms Family Homestead, the central lesson is practical: straightforward boxes work well when the interior is planned around access, ventilation, and soil delivery.
Plan Greenhouse Raised Beds Before Buying Materials
The best greenhouse design begins with an empty floor plan. Before ordering lumber, mark the greenhouse structure, greenhouse frame, doors, windows, vents, plumbing, heaters, electrical outlets, shelving, benches, and the central growing zone. Use stakes, chalk, cardboard, or temporary boards so you can test the arrangement at full scale.
The video demonstrates why equipment clearance matters. At 03:00-04:10, Daniel shows that a bed beside the wall must leave room for hand cranks and ventilation controls. A bed that looks efficient on paper can become frustrating if it blocks a greenhouse window, prevents a door from opening fully, or forces you to reach around a vent handle.
A 2-foot bed is generally suitable beside a wall because you can reach its entire width from one side. A 3-foot bed is more comfortable when you can work from both sides. Although some gardeners can reach across feet, wider beds become difficult to weed and harvest unless both long edges remain accessible.
| Bed or path width | Access direction | Good uses | Recommended application |
|---|---|---|---|
| 2 feet | One side | Herbs, greens, trellised crops near a wall | Sidewall bed in a backyard greenhouse |
| 3 feet | Both sides | Tomatoes, peppers, cucumbers, flowers | Central bed in a small or medium greenhouse |
| 4 feet | Both sides required | Large blocks of crops | Only where access and reach are verified |
| 2 feet | Walking access | Routine planting and harvesting | Minimum practical path in many layouts |
| 3-4 feet | Wheelbarrow or mobility aid | Soil delivery and equipment movement | Main path near greenhouse doors |
Your greenhouse plans sketch should show the complete working system, not just beds. Include greenhouse ventilation controls, greenhouse heating equipment, greenhouse lighting, irrigation valves, benches for seed starting, and shelves for container gardening. Where climate allows, a north-south orientation can give plants more even light, while unobstructed southern exposure usually supports winter production.
Leave turning space near greenhouse doors and work surfaces. If you use a wheelchair, walker, or wide wheelbarrow, measure the actual equipment rather than relying on a general path standard. A temporary layout test often reveals problems before they become expensive cuts.
Choosing Lumber and Materials for Greenhouse Raised Beds
Arms Family Homestead uses 16-foot pressure-treated 2-by-10 boards for the long beds, coated deck screws for assembly, and short pressure-treated 2-by-4 pieces for corner blocks and cross-braces. Two 16-foot boards provide feet of a 40-foot side, and an approximately 8-foot section completes the run. Because each bed has two long sides, a 40-foot bed needs roughly five 16-foot boards before allowing for waste, cuts, or end pieces.
The material decision deserves more thought than the framing method. The creator says untreated pine may last only about one year under wet conditions. Cedar is naturally durable but can cost considerably more, while redwood performs well but may be outside a typical backyard budget. If you select pressure-treated lumber for food gardens, research current safety guidance, product labeling, and local recommendations before purchasing.
Other options include naturally durable cedar, composite boards, galvanized metal, masonry, reclaimed brick, and clean salvaged materials. Never use salvaged boards with unknown chemical exposure, creosote, lead paint, industrial residue, or contamination. A low-cost material is not a bargain if it creates a food-safety or disposal problem later.
Build a budget from quantities rather than a single price estimate, since lumber, soil, delivery, and hardware costs vary widely by region in 2026. List:
- Approximately five 16-foot boards for each 40-foot bed’s two long sides, plus end boards and waste.
- Exterior-rated coated or galvanized screws, corner blocks, and cross-brace stock.
- Clean topsoil, finished compost, delivery, and equipment access.
- Irrigation tubing, emitters, valves, filters, and a pressure regulator.
- Leveling materials, gravel, landscape fabric, pavers, or another greenhouse floor surface.
Keep the bed walls structurally independent from the greenhouse frame. Greenhouse glazing, glass panels, polycarbonate, doors, windows, and the roof structure are separate decisions. Bed walls should not carry roof loads or be fastened to glazing panels, which can crack or distort when soil pressure shifts.
How to Build Greenhouse Raised Beds That Stay Square
The simple box method works well, but long beds need careful measuring and reinforcement. Use this repeatable sequence for greenhouse raised beds:
- Measure the layout. Confirm bed length, width, door clearance, vent access, and walkway spacing.
- Cut the boards. Measure actual lumber rather than trusting nominal dimensions.
- Assemble the long sides. Join sections on a level surface with exterior-rated coated or galvanized deck screws.
- Reinforce the corners. Add internal 2-by-4 corner blocks so screws engage solid wood from both directions.
- Install cross-braces. Add boards spanning the bed width at regular intervals to resist outward soil pressure.
- Place the box. Set it in the final position, then align it with the planned path and adjacent beds.
- Level and straighten it. Shim low areas with durable, non-compressible material before filling.
At 05:05-05:45, the creator points out a common dimensional-lumber trap. A board labeled 2-by-10-by-16 is not literally inches by inches by exactly feet. Its actual thickness and width are smaller, and the length may be slightly different. Daniel measures his cut at approximately feet and one-half inch rather than assuming a perfect 8-foot half, helping the joint remain square.
Check both diagonals before tightening every connection. Equal diagonals indicate a rectangular box; if they differ, push the frame into alignment before adding soil. Use a level along the length and across the width, leave room for minor settling, and recheck straightness after the first soil layer is added.
Forty feet of saturated soil creates continuous outward force. Without cross-braces, boards can bow, joints can separate, and walkways can gradually narrow. The video shows this principle with a brace spanning the bed width, keeping the sides at a consistent 2- or 3-foot dimension.
Greenhouse Raised Beds, Floors, and Water Management
Your greenhouse floor affects traction, drainage, cleaning, cost, and future flexibility. Compacted soil is inexpensive and easy to modify, but it can become muddy. Gravel drains well and is relatively simple to install, while landscape fabric beneath gravel helps limit weeds. Concrete is stable and easy to sweep but expensive and difficult to change. Pavers and brick provide a finished surface without necessarily making the entire structure permanent.
A greenhouse brick floor can add thermal mass, provide a stable walking surface, and improve accessibility. However, bricks need a properly compacted, well-drained base. In regions with frost heave, chronic flooding, or expansive clay, a poorly prepared brick floor can shift. Keep standing water away from wooden bed walls and avoid sealing moisture against their lower edges.
Before filling greenhouse raised beds, establish the water plan:
- Slope the greenhouse floor slightly toward a drain, swale, or collection point.
- Route irrigation lines along bed edges rather than across walkways.
- Use drip irrigation or soaker hoses to reduce leaf wetting and evaporation.
- Install a shutoff valve for each bed so different crops can receive different amounts of water.
- Use a filter and pressure regulator where needed to protect emitters.
Roof runoff can supply irrigation water when collected in clean, suitable containers. Keep collection tanks covered, inspect them regularly, and don’t use containers that previously held chemicals. Water early enough for foliage and floor surfaces to dry, and use greenhouse ventilation to reduce condensation and fungal pressure.
Calculate each bed’s volume before ordering soil: multiply length by width by fill depth, then convert cubic feet to the supplier’s unit. Fill with clean topsoil blended with finished compost, add the mix gradually, and allow it to settle. Keep the final soil level slightly below the board edge, and never fill until the box is in its final position, square, and level. The creator specifically plans to use a tractor to bring soil through the open back wall at 08:05-08:45, an advantage that may justify preserving equipment access.
Climate-Specific Greenhouse Design Improvements
A productive greenhouse design must respond to local weather, not just available floor area. In hot climates, prioritize roof vents, sidewall vents, shade cloth, reflective coverings, automatic louvers, and exhaust fans. A thermostat or environmental sensor can activate fans when temperatures rise, reducing the need for constant manual checks. The video’s narrow sidewall bed is a useful example: it preserves access to hand-crank vents, which would be difficult to operate if the bed were wider.
Cold-climate greenhouse plans should combine passive-solar design with reliable frost protection. A north-south orientation where practical, an insulated north wall, sealed gaps around greenhouse doors and windows, and thermal mass such as water barrels or a greenhouse brick floor can moderate temperature swings. Still, passive solar measures don’t replace a safe, thermostatically controlled heater sized for the coldest expected night.
Windy sites need stronger anchoring for the greenhouse frame, braced bed corners, low-profile shelving, secure glazing, and doors that latch against gusts. Don’t use greenhouse raised beds as the sole anchor for the structure; the frame requires its own foundation or anchoring system.
Humid climates benefit from generous roof and side ventilation, air gaps around benches and containers, uncrowded greenhouse plants, and a hygrometer. Schedule irrigation in the morning, avoid overspray, and remove dead leaves promptly. In any climate, monitor temperature and humidity rather than guessing. A simple record of daily highs, overnight lows, and condensation patterns can guide changes to shade, ventilation, and heating.
Make the Interior Easier to Work In Year-Round
Ergonomics should shape the layout from the beginning. As demonstrated in the video, a 2-foot sidewall bed allows planting and harvesting while keeping hand cranks reachable. A 3-foot bed works well when a walkway runs along both sides. That distinction can save you from repeatedly stretching across soil or climbing into a bed.
Arrange greenhouse shelving and greenhouse benches around your work sequence. Place seed starting near water and greenhouse lighting, keep potting space close to soil and container storage, and position mature greenhouse plants so tall crops don’t shade short seedlings. A small greenhouse may need fold-down benches or vertical shelving so the central path remains clear.
Maintain at least feet for ordinary paths where possible, but widen the main route for a wheelbarrow, cart, or mobility aid. Provide turning space near doors and work surfaces. Keeping part of the floor open also supports container gardening and seed starting without eliminating in-ground growing; crops that benefit from ground contact can remain in the central soil zone while beds offer controlled soil and easier maintenance.
For safe year-round growing, use non-slip flooring, protect or round exposed fasteners, and keep heaters, vents, and electrical controls accessible. Secure electrical cords above wet areas, provide adequate lighting, and ventilate whenever using fertilizers, solvents, fuel-burning equipment, or power tools. A greenhouse should be comfortable to work in during a January morning as well as a July harvest.
Greenhouse Construction Checklist and Estimated Workflow
The following checklist separates frame construction from the full greenhouse construction project. Print it or turn it into a materials order:
- Measure the greenhouse structure and mark doors, windows, vents, utilities, and equipment.
- Test bed and walkway positions with cardboard or temporary boards.
- Finalize widths, lengths, access routes, and the central in-ground area.
- Choose the greenhouse floor and prepare drainage and leveling layers.
- Order lumber, screws, braces, soil, compost, irrigation supplies, and delivery.
- Pre-cut boards after checking their actual dimensions.
- Assemble the boxes, reinforce corners, and add cross-braces.
- Place, square, level, and align each bed.
- Install irrigation lines and individual shutoff valves.
- Fill with soil and compost, allow settling, then amend and plant.
Your materials checklist should include 2-by-10 boards, 2-by-4 brace stock, exterior screws, a tape measure, saw, drill, level, framing square, stakes, shims, soil, compost, irrigation tubing, and optional landscape fabric or gravel. Add a wheelbarrow or tractor access plan if large beds will be filled in one delivery.
The video offers a useful labor comparison. Daniel says the earlier three sheet-metal beds took close to hours, while the three wooden frames took approximately four hours, from around 10:00 to shortly before 14:00. That doesn’t mean the entire project takes four hours: delivery, site preparation, soil transport, leveling, irrigation, and planting can add a full day or more.
For a small greenhouse, build modular sections instead of one uninterrupted 40-foot run. Temporary layout testing is especially valuable when every inch affects greenhouse doors, ventilation, greenhouse shelving, and access to tools.
Common Mistakes to Avoid With Greenhouse Raised Beds
The most obvious mistake is copying a dimension without copying the access conditions. Daniel acknowledges that his earlier 3-foot sidewall beds were too wide without a walkway, making it harder to reach the wall. Before building greenhouse raised beds, stand beside the proposed location and test your reach to the far edge, vent controls, hose connections, and plants.
Don’t assume nominal lumber measurements. Measure actual board lengths, account for slightly oversized or undersized cuts, and check every joint for square before adding another section. A small error repeated along a long bed can create a crooked line that reduces walkway width and complicates irrigation.
Long beds also fail when they rely on weak connections. Ordinary steel screws can rust, unbraced boards can bow, and unsupported joints can pull apart under wet soil. Use exterior-rated coated or galvanized screws, internal corner blocks, and regular cross-braces. Recheck the beds after heavy watering or a freeze-thaw cycle.
Other greenhouse design mistakes include inadequate ventilation, no drainage plan, shelves that shade crops, heaters installed too close to combustible materials, and floors that become slippery or muddy. Avoid placing greenhouse lighting where irrigation can spray it, and don’t block greenhouse windows with tall benches.
Finally, research local rules and current food-garden guidance before choosing treated lumber. Never use salvaged materials with unknown chemical exposure, creosote, lead paint, or industrial contamination. A clean, verified reclaimed brick may be appropriate; an unidentified old board may not be.
Final Build Plan for a Productive Backyard Greenhouse
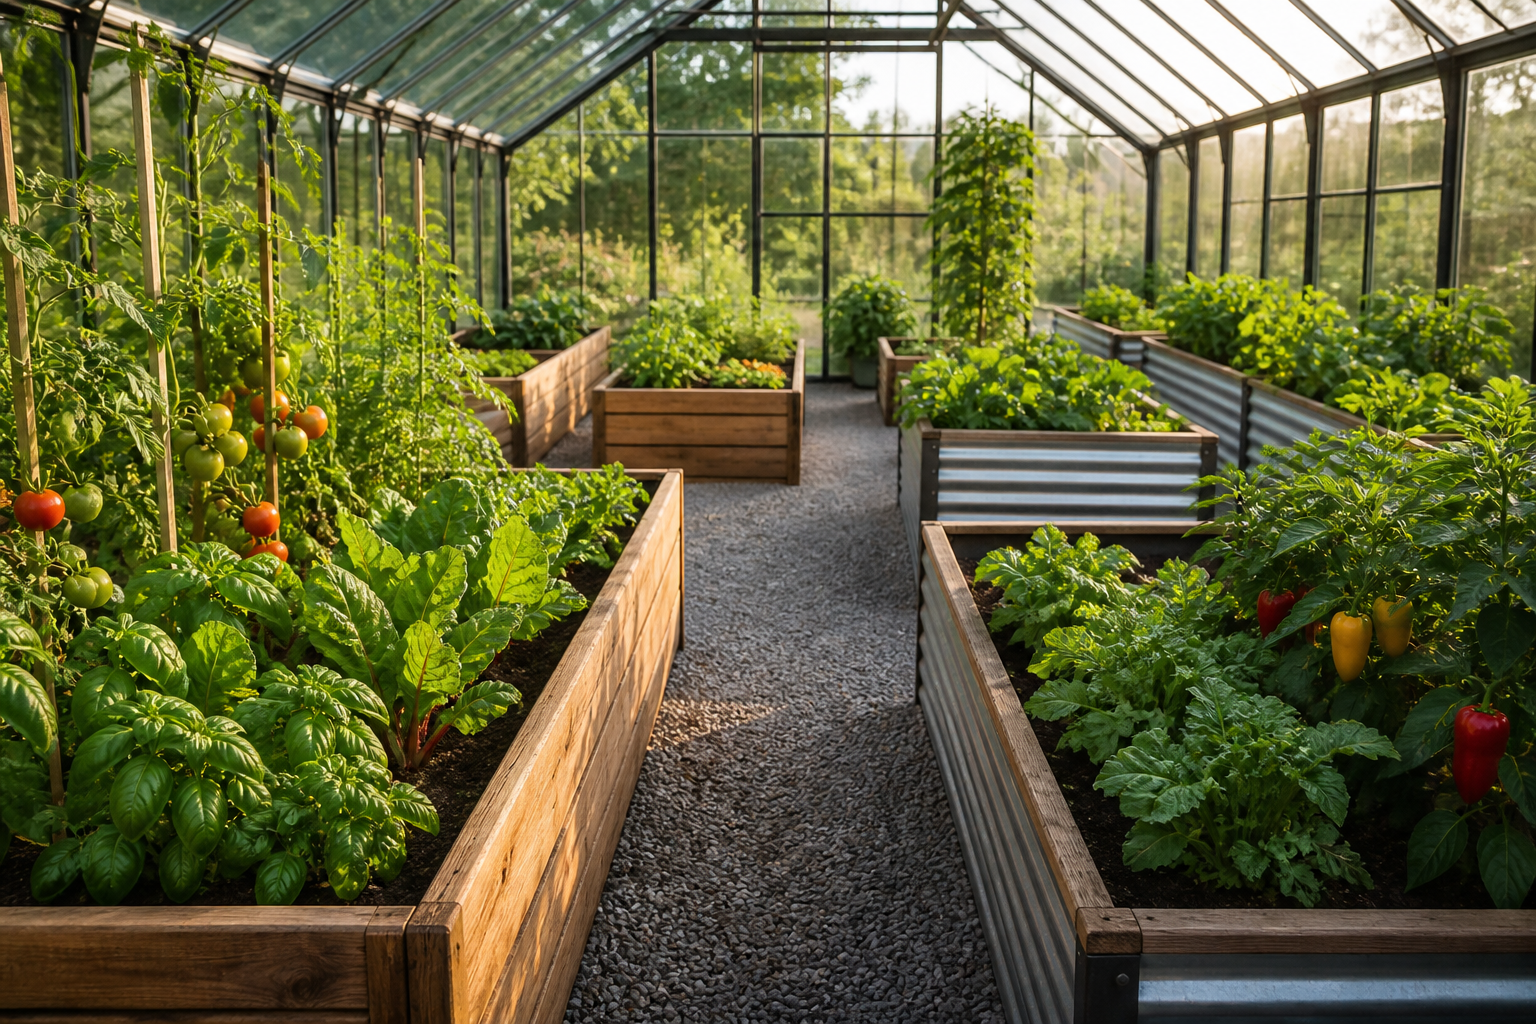
The practical takeaway from Arms Family Homestead is that a simple wooden box can create substantial growing space quickly when the layout is planned around access, ventilation, and soil delivery. The completed arrangement leaves the center open for in-ground planting while allowing machinery to bring soil through the open end, as the creator explains at 08:05-08:45.
Use this decision sequence before beginning greenhouse construction:
- Choose your greenhouse plants and decide which crops belong in beds, containers, or ground soil.
- Draw greenhouse plans showing the greenhouse frame, glazing, doors, windows, ventilation, heating, lighting, benches, shelves, paths, and utilities.
- Select a greenhouse floor based on drainage, traction, cost, and accessibility.
- Verify climate controls, including shade, vents, fans, thermal mass, insulation, or heating.
- Calculate bed volume and confirm how soil will reach the interior.
- Choose lumber or alternative materials after reviewing durability, safety, and local prices.
- Build, level, irrigate, fill, and test before committing to a full planting schedule.
For a small greenhouse, use one narrow bed, modular sections, fold-down greenhouse benches, vertical shelving, and a clear central path. You can still support container gardening and seed starting while reserving ground space for crops that need deeper soil or direct access to native ground.
Document the finished layout with measurements, planting dates, temperature readings, humidity readings, irrigation changes, and material performance. According to the video, three 40-foot beds represent a substantial amount of growing space; your own records will show whether that scale, or a smaller adaptation, works best for your backyard greenhouse and year-round growing goals.
For more examples and future projects, visit the Arms Family Homestead channel and watch the original build for the framing sequence and layout demonstration.
Key Takeaways
- Simple wooden boxes can provide substantial greenhouse growing space with less labor than custom sheet-metal beds.
- Use narrow beds beside walls when vents or hand cranks need access, and reserve 3-foot beds for locations reachable from both sides.
- Brace long beds with exterior-rated screws, corner blocks, and cross-braces so saturated soil doesn’t bow the walls.
- Plan the greenhouse floor, drainage, irrigation, ventilation, heating, lighting, shelving, and soil-delivery route before construction.
- Adapt the video’s 40-foot layout to your greenhouse frame, climate, accessibility needs, tools, and local material prices.
Frequently Asked Questions
What is the best layout for a greenhouse?
The best layout keeps beds reachable, paths clear, and vents, doors, windows, irrigation, and heaters accessible. A common arrangement uses a 2-foot bed beside a wall, 3-foot beds that can be accessed from both sides, walkways of at least feet, and an open area for in-ground planting or equipment.
What not to put in a greenhouse?
Don’t place flammable materials near heaters, untreated salvaged wood with unknown chemical exposure, clutter that blocks doors or vents, or shelving that shades all shorter plants. Avoid standing water, unsecured electrical cords, and containers that previously held chemicals when harvesting rainwater.
What are some DIY greenhouse ideas?
Simple wooden greenhouse raised beds, modular bed sections, fold-down benches, vertical shelving, drip irrigation, rainwater collection, and a compact brick floor are practical DIY ideas. For a small greenhouse, test cardboard bed outlines first and preserve one clear central path.
What are some common greenhouse design mistakes?
Common mistakes include making sidewall beds too wide, providing insufficient ventilation, ignoring drainage, blocking doors or vent controls, using weak fasteners, and failing to brace long beds against soil pressure. Heaters without safe clearance and slippery or muddy floors are additional problems.
How wide should greenhouse raised beds be?
A 2-foot bed is useful beside a wall because it can be reached from one side. A 3-foot bed is generally practical when accessible from both sides, while beds wider than about feet should be avoided unless the design provides excellent access from both edges.
Can pressure-treated lumber be used for greenhouse raised beds?
It may be used only after you research current product labeling and food-garden safety guidance in your area. Alternatives include cedar, redwood, composite boards, galvanized metal, masonry, clean reclaimed brick, and verified salvaged materials.