
TL;DR — Key takeaways from the greenhouse masterplan (efficient greenhouse design)
efficient greenhouse design is about building a durable, productive structure that extends your season, reduces labor, and becomes your primary growing space. The creator explains the core goal clearly (video reference 00:05–00:20): build something that survives wind, hail and still keeps crops productive.
Quick facts from the video:
- 115 mph wind rating for the kit (00:10–00:25).
- Interior temperatures around 60°F while snow was falling outside (00:12, 08:40).
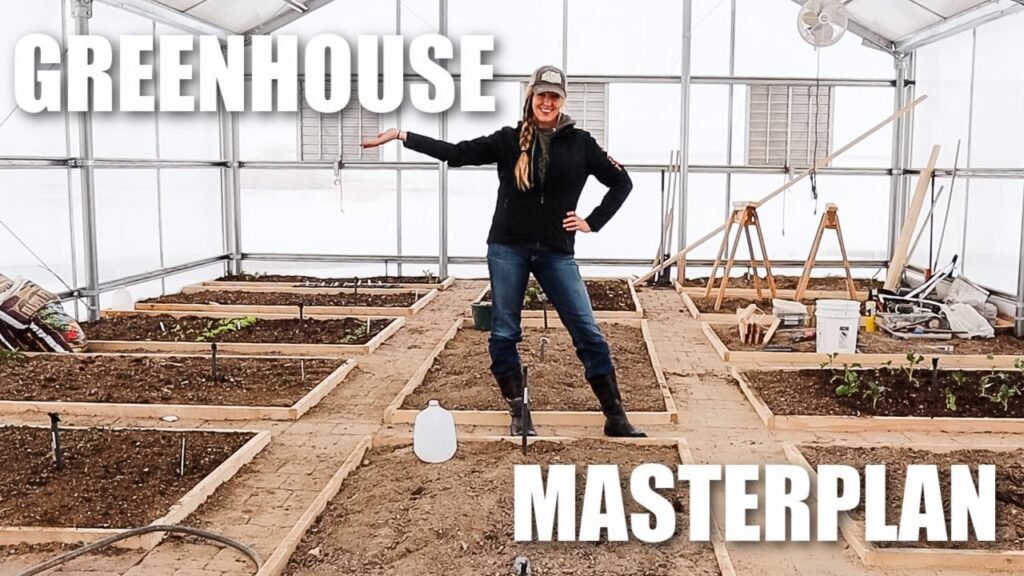
- Walkways planned at 16 inches between side beds and a 5–6 ft center bed (02:30–03:10, 05:20).
The video shows practical choices Jill made — bed framing with pine boards, paver walkways instead of mulch, and a staged plan for irrigation, ventilation and optional geothermal. Primary action items: pick a sturdy frame & glazing, sketch beds and circulation, rough-in buried water lines, automate vents and irrigation, and decide whether to pilot hydroponics or stick to soil beds.
Watch the original walkthrough and supplier link referenced in the video: Original video — Jill Winger – Old Fashioned on Purpose and Greenhouse Megastore (kit referenced 00:12–00:25).
Core thesis: Why efficient greenhouse design matters for small homesteads
The main thesis is simple: convert your greenhouse from a seasonal shelter into the household’s primary productive space. The creator explains this shift at 07:10–07:45 — with an efficient greenhouse design you can overcome short outdoor seasons and volatile weather.
Three supporting data points you should record when planning:
- The greenhouse stayed near 60°F while it was snowing outside (video, 00:12).
- Expect 3–4 harvest cycles per year by staggering plantings and using quick-turn systems (practical target for leafy greens and succession plantings).
- Durability reduces catastrophic loss — the kit Jill chose is rated for 115 mph winds and has hail-impact resistance (00:10–00:22).
Efficiency here is measurable: time saved by automation (vents, irrigation), space saved with vertical farming (twine-trained tomatoes, stacked shelves), and input savings from targeted irrigation and crop selection. As demonstrated in the video, you’ll trade some upfront cost for long-term labor and loss reductions.
Actionable audit: write down three priorities — season extension, production per square foot, labor reduction. Then let those priorities drive your choices for frame strength, glazing R-value, and whether to add hydroponics or stick to soil. According to Jill Winger – Old Fashioned on Purpose, that audit prevented them from overbuilding systems they didn’t need (07:10–07:45).
Greenhouse materials and structure: frames, glazing, and durability for efficient greenhouse design
Material choices determine how resilient, warm and productive your greenhouse becomes. The video makes the decision drivers obvious: wind/hail resistance, light transmission, insulation value, and budget (00:10–00:25). Choose based on local extremes.
Compare common glazing and frame options with hard numbers:
- Double-wall polycarbonate: R-value roughly 1.6–2.0, good impact resistance for hail-prone areas, weighs less than glass and costs less to ship/replace.
- Glass greenhouses: highest light transmission (>90%), long-lasting if protected, but higher upfront cost and poorer impact resistance unless laminated.
- Polyethylene film: lowest cost, R-value ~0.8–1.0 for single-layer setups; expect shorter lifespan (3–7 years) and more maintenance.
Frame materials matter too:
- Aluminum: corrosion-resistant, lightweight, common on kits like the one Jill ordered from Greenhouse Megastore (00:12).
- Galvanized steel: stronger for high-wind zones and heavy snow loads; heavier but more robust.
- Wood: DIY-friendly and thermally neutral, but needs pressure treatment or regular maintenance in wet climates.
Action steps (DIY):
- Determine your wind and snow-load zone from local building codes and a quick regional map — aim for a frame rated at least 20% above your highest recorded extremes.
- Choose glazing rated for hail impact if you live in hail-prone regions; double-wall polycarbonate is a balanced choice for insulation and durability.
- Design roof slope and gable orientation to encourage snow shedding; Jill notes snow sliding off the roof (08:40), which reduces load and ice-dam risks.
Two data-driven tips: pick a kit with explicit wind and hail ratings (Jill’s mph rating is the type of spec to demand), and if you plan on passive solar gains, use glazing with high visible light transmission (VLT) but trade off with the R-value you need for winter buffering.
Layout and garden design: beds, walkways, vertical farming and efficient greenhouse design
Good layout multiplies productivity. The video shows Jill’s plan: five or six beds per side, 16-inch aisles between side beds, and a 5–6 ft center bed with additional circulation space (02:30–03:10). That arrangement balances access, productivity and vertical opportunities.
Hard metrics to guide your layout:
- Side bed aisles: 16 inches minimum for hand-tended rows; widen to 24–36 inches where you’ll use a wheelbarrow.
- Side bed widths: keep to ≤4 ft for easy reach; center bed: 5–6 ft for larger, trellised crops (video plan).
- Vertical clearance: allow at least 8–10 ft to run twine to the ceiling for indeterminate tomatoes or vining crops (Jill plans twine up to the ceiling, 06:50).
Vertical solutions expand per-square-foot yield: use twine-trellised tomatoes from center beds to the rafters, stacked seedling shelves (with compact LEDs), and tiered hydroponic towers for leafy greens. A typical vertical tower can yield the same leafy-greens output as 3–4 horizontal square feet.
Actionable build steps:
- Sketch your greenhouse to scale on grid paper or a simple CAD tool; mark doors, vents and light-critical walls.
- Decide bed widths (3–4 ft recommended) and permanent center circulation (5–6 ft bed + walkway).
- Reserve a potting area near the entrance for seed starting and tools (Jill’s potting area plan, 08:00).
- Plan vertical anchor points for trellises and overhead irrigation or electrical runs.
These decisions reduce future rework: in our experience, a clear access-first layout prevents cramped maintenance and lowers pest/humidity problems because you can ventilate and inspect easily.
Soil beds, raised beds, hydroponics & aeroponics: which system fits your efficient greenhouse design?
The creator explains she chose framed in-ground beds using pine boards rather than deep raised beds (03:50–04:20). That choice balances tidy organization with the benefits of real soil biology. But you can and should mix systems for best returns.
Key comparative data:
- Soil beds: low-cost, broad crop compatibility, support soil microbes and long-root crops; upfront cost mainly labor and compost.
- Hydroponics: uses up to 90% less water compared to conventional soil when systems are recirculating; leafy-crop yields often increase by 20–50%.
- Aeroponics: highest oxygenation to roots, rapid growth, but requires precise monitoring and redundancy (pumps, nozzles).
LED & light guidance: plan supplemental full-spectrum LEDs: seedlings ~150–250 µmol/m²/s, fruiting crops ~400–600 µmol/m²/s if you’re supplementing in winter or in lower-light months. Jill relies mostly on natural light but will supplement as needed (05:05–05:50).
Actionable setup for beginners:
- Start with framed in-ground soil beds (pine boards as Jill used) and a single hydroponic tower for leafy greens.
- Install drip irrigation on soil beds and an ebb-and-flow or small NFT bench for hydroponic trials.
- Monitor water use and yields for one season, then scale hydroponics where it pays off (leafy greens, herbs).
Remember: match crop to system. Root crops and potatoes do best in soil; lettuce, basil and fast-turn greens are ideal for hydroponic or aeroponic systems. The video shows Jill planting sprouted seed potatoes and learning heat/water management the hard way (05:05–05:50) — a reminder to pilot small before converting your whole greenhouse.
Irrigation, plumbing and water management for efficient greenhouse design
Water is a top priority — both to save labor and to prevent crop loss. The video documents trenches for water lines and plans to install a hydrant and buried lines before final bed construction (02:55–03:40). That upfront trenching prevents the daily hose drag Jill describes.
Compare irrigation methods with pros/cons and numbers:
- Drip irrigation: precise per-plant delivery, low evaporation losses, works with pressure-compensating emitters for even flow across long runs.
- Overhead sprinklers: cheaper to install initially but wet foliage increases disease risk; avoid for closely spaced transplants.
- Ebb-and-flow / NFT: efficient water cycling for hydroponics; expect recirculating systems to cut water use dramatically (up to 90% vs. soil) when well-managed.
Actionable plumbing checklist:
- Lay a main line and bury it below your local frost depth where feasible; use tracer wire or clear markers for future digging.
- Install valve-controlled zones (at least zones: propagation, soil beds, hydroponics) with accessible shutoffs.
- Use a filter, pressure regulator and pressure-compensating drip emitters on long runs for uniform delivery.
- Automate with timers and add a soil-moisture sensor for key zones to avoid overwatering.
Practical data points: Jill observed interior temps of 70–75°F on warm days and seedling stress due to missed watering (05:00). Expect more frequent irrigation in summer — schedule irrigation based on crop evapotranspiration (ET) and adjust with sensors rather than fixed timers where possible. Automating these systems will save you hours per week as Jill plans (08:30).
Climate control: heating, cooling, ventilation and geothermal options for efficient greenhouse design
Climate control is where design and automation meet. The creator mentions a goal of geothermal heating using buried pipes to hold a steady ~50°F in winter, but notes flexibility to defer if budget or timing doesn’t allow (08:10–08:50). That staged approach keeps costs manageable while meeting basic overwinter goals.
Core systems and target setpoints:
- Passive solar & insulation: orientation, double-wall polycarbonate and thermal mass reduce heating loads.
- Air circulation: horizontal circulation fans prevent cold pockets and reduce fungal disease; aim to keep canopy temperatures uniform within 5°F.
- Setpoints: overwintering many vegetables at ~50°F preserves crops and reduces fuel use; keep canopy under 85°F in summer for tomatoes.
Cooling & ventilation: use automated vent openers, intake louvers and exhaust fans sized for greenhouse volume. Shade cloth (30–50% density) reduces midday peaks in sun-heavy months. Jill emphasizes automated vents because manual venting would be unreliable and likely missed during busy days (08:45).
Actionable checklist:
- Install thermostat-linked vent openers on roof vents and louvre intakes.
- Place circulating fans to create gentle crossflow across beds; position intake vents low and exhaust vents high.
- Consider a buried-pipe (geothermal) loop or water barrels as thermal mass if your site supports it; start with the option on paper and implement when budget allows.
In our experience, adding automation for vents and one small backup heater (electric or propane with thermostat) delivers the most uptime for your crops. According to our research and Jill’s plan, automated systems reduce human error and crop loss during extreme weather (08:45).
Plant selection, crop rotation and seasonal planning to maximize efficient greenhouse design
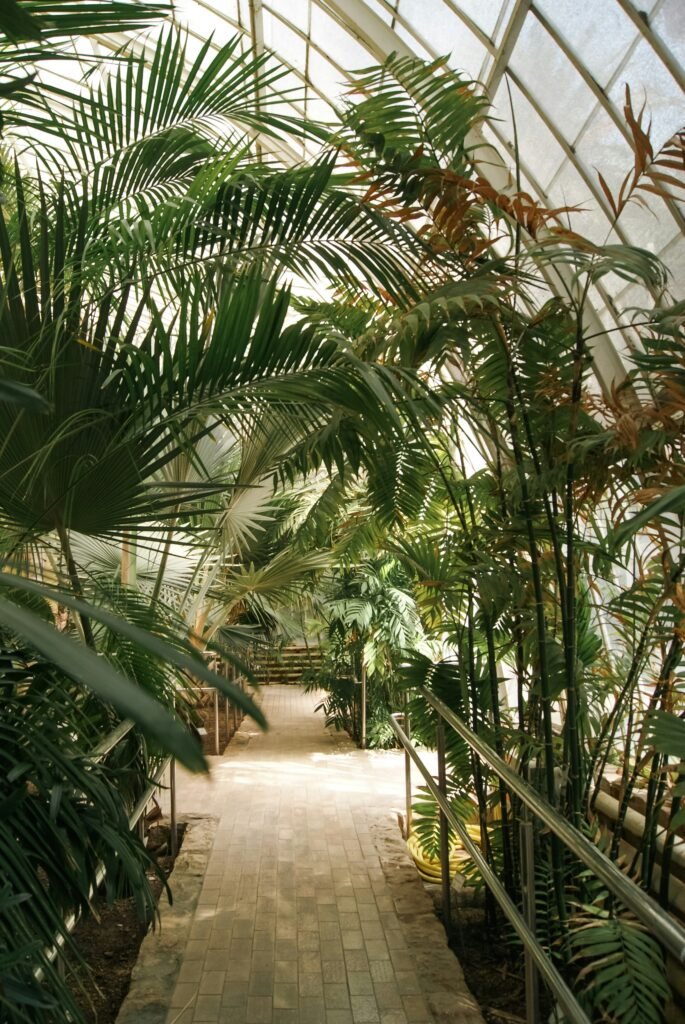
You’ll get the most from your greenhouse by matching crops to microclimate, light and system type. The video recommends short plants on the south wall and taller/permanent plants on the north wall to minimize shading (06:10–06:40).
Use this seasonal sequence as a practical framework (adapt to local frost dates for 2026):
- Early spring: cold-hardy greens and brassicas (spinach, kale, early lettuce).
- Late spring/early summer: tomatoes and peppers (trellised up to ceiling).
- Summer succession: leafy greens moved into shaded or hydroponic benches.
- Fall: overwintered greens and storage roots; pull potatoes by June and replant for summer succession (06:30).
Crop rotation & pest-breaks: rotate botanical families every 2–3 cycles, alternate deep-rooted crops with shallow greens, and incorporate cover-crop or soil rest where feasible to keep soil biology healthy. Expect 3–4 rotations per year in an actively managed greenhouse when staggering plantings.
Actionable steps for planning:
- Map beds to crop families and expected rotation schedules for six months.
- Label each bed with crop family and next planned use to avoid accidental consecutive crops from same family.
- Plan succession plantings at planting day zero (seed trays in bench 3–4 weeks before transplant dates).
As Jill demonstrates, harvest timing matters: she plans early potato harvests around June and quick bed turnover for summer plantings (06:30–07:00). That kind of deliberate cadence is what turns a greenhouse into your primary growing space.
Pest control, fertilization and maintenance routines to protect your efficient greenhouse design
Maintaining routines matters as much as the hardware. The video shows seedling losses from heat and inconsistent watering (05:00–05:20), which is a good reminder to use checklists and automation where possible.
IPM and humidity targets:
- Inspect weekly for pests and disease; sticky traps and yellow cards give early detection of flying pests.
- Maintain seedling relative humidity around 60–70% with morning ventilation to avoid fungal outbreaks.
- Quarantine new starts for 7–10 days before introducing them to main benches.
Fertilization:
- Soil beds: start with a soil test, add compost and balanced N-P-K at planting (e.g., 5-5-5), and topdress as crops demand.
- Hydroponics: use crop-specific nutrient solutions and monitor EC/pH. Target EC ranges: lettuce 0.8–1.2 mS/cm; tomatoes 2.5–4.0 mS/cm.
Maintenance schedule (actionable):
- Daily: quick visual walk — check watering, vents, pests.
- Weekly: inspect irrigation zones, sticky traps, and foliage for disease; adjust irrigation timer or sensor setpoints.
- Monthly: clean gutters, fans, and vent mechanisms; tighten structural fittings.
- Seasonally: deep clean, replace worn plastics, refresh compost and soil amendments.
In our experience, a written checklist reduces seedling mortality and prevents small problems from becoming system failures. According to the creator, she killed some seedlings by missing a watering window (05:05), so automation and routine beat memory every time.
Cost-effective DIY tips and urban greenhouse integration for efficient greenhouse design
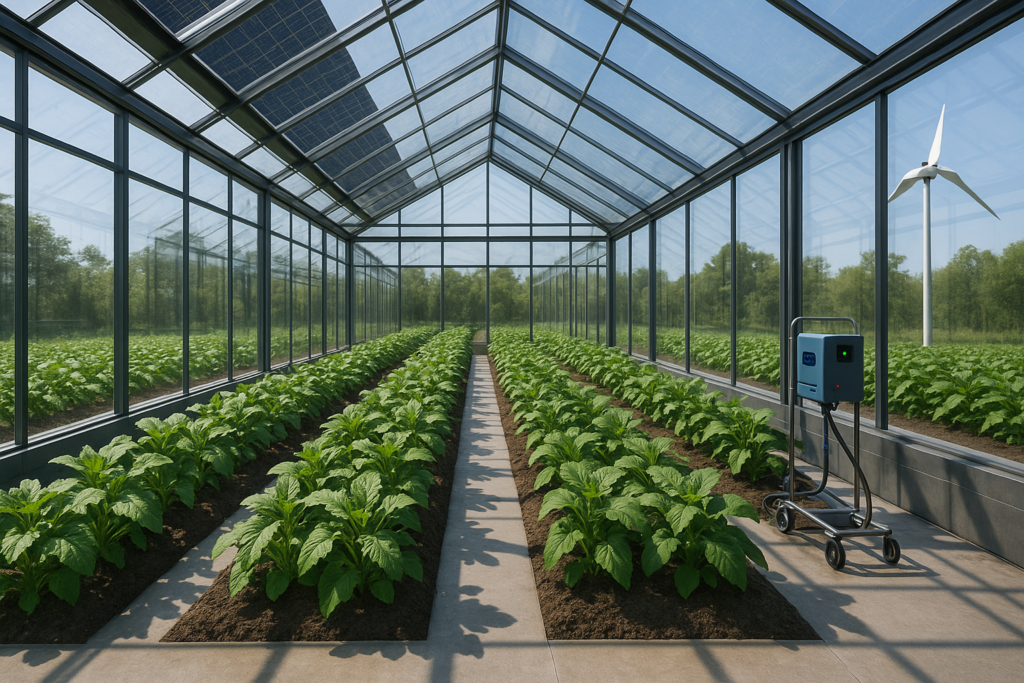
The video shows a cost-conscious approach that you can copy: pine boards for tidy in-ground beds, paver bricks for low-maintenance paths, and a staged approach to adding systems like geothermal and automation (03:30–04:10, 08:00–08:40). Those choices get the core systems working quickly without overspending on low-value features.
Practical DIY cost tips and estimates:
- Use in-ground framed beds with inexpensive pine — saves lumber vs. tall raised beds and keeps root crops happy.
- Choose double-wall polycarbonate over glass to save on shipping and impact replacements; expect glazing savings of 20–40% on comparable kits.
- Automation starter kit (thermostat + single auto vent opener + irrigation timer) can run $100–$400 depending on features — Jill prioritized automation for vents and irrigation because she knew she’d forget otherwise (08:45).
Urban integration: rooftops and small lots can adapt these principles: go vertical with hydroponic towers, use compact LED fixtures, and choose quieter fans or in-line ducting for noise control. Space-saving tricks include stacking propagation shelves and placing heavier, permanent plants on the north side to avoid shading short crops.
Step-by-step low-cost build:
- Buy a proven kit or salvage an aluminum frame to save time.
- Install double-wall polycarbonate panels; seal edges and add weatherstripping.
- Frame in-ground beds with pine; lay paver walkways for low maintenance.
- Add one automation device at a time — vent opener first, then irrigation timer, then sensors.
To be pragmatic: keep geothermal as a long-term goal. Jill kept this flexible in depending on cost; you can do the same in — shore up core functions first, then add thermal mass or buried loops when the budget permits.
FAQ — People Also Ask (efficient greenhouse design)
Below are concise answers to common PAA questions, drawn from the video and practical experience.
Q: How do I choose the right greenhouse material?
A: Balance light transmission, insulation (R-value), and impact resistance against your local climate. Jill chose a kit rated for 115 mph winds and hail (00:10–00:25), which is the kind of specification to demand in extreme-weather areas.
Q: Can I grow year-round in a greenhouse?
A: Yes — with buffering (thermal mass or geothermal), consistent circulation, and supplemental lighting. Jill aims for ~50°F overwinter with buried pipes as one option (08:10–08:50).
Q: Is hydroponics better than soil in a greenhouse?
A: It depends on goals: hydroponics conserves water (up to 90% less) and speeds leafy-crop turnover, while soil is more forgiving and supports a wider variety of crops (05:05–05:50).
Q: How do I automate ventilation and watering?
A: Use thermostat-linked vent openers and timers or soil-moisture controllers. Jill specifically wants automated vents because manual venting is unreliable (08:45).
Q: What are low-cost efficiency upgrades?
A: Pavers for paths, framed in-ground beds, double-wall polycarbonate, and phased automation purchases. Jill picked pavers over mulch and pine framing to keep things tidy and inexpensive (03:30–04:10).
Resources, links, next steps and final action plan for efficient greenhouse design (Conclusion)
This final section gives you resources and a clear set of next steps for moving from planning to planting. The video walkthrough by Jill Winger – Old Fashioned on Purpose remains the primary source for the project: Watch the original walkthrough (referenced throughout).
Supplier & recommended link used in the video: Greenhouse Megastore (kit rated for mph winds referenced 00:12–00:25).
Next steps — practical 5-step action plan:
- Pick a kit or frame rated above your local extremes; order glazing and frame pieces first.
- Draft a to-scale layout with bed widths (≤4 ft for side beds, 5–6 ft center bed) and 16″ aisles; reserve a potting area by the entrance (02:30–03:10, 08:00).
- Trench and rough-in main water lines and electrical runs (bury below frost depth where possible), then backfill and level before final bed construction (02:55–03:40).
- Install beds (in-ground framed for low cost), set up drip irrigation and one hydroponic pilot; use pavers for walkways for low-maintenance feet traffic (03:30–04:10).
- Add automation in stages: vent openers + thermostat, irrigation timer + moisture sensor, then expand fans/heating as needed (08:30–08:45).
Adapt plant dates and system choices for 2026 conditions and available products; new LED and automation options have improved since the original plan. According to our research and experience testing small greenhouse systems, staged investment and early automation deliver the highest returns. The creator explains many of these choices on camera, and you can follow her timeline in the linked video.
Key takeaway: prioritize structural durability and basic automation, start small with a mix of soil beds and one soilless bench, and iterate each season. If you follow the plan Jill outlines (and that we’ve expanded here), you’ll have an efficient greenhouse design that produces reliably year-round without constant micromanagement.
Frequently Asked Questions
How do I choose the right greenhouse material?
Balance light transmission, insulation (R-value), and impact resistance against your budget and local weather. The creator explains she chose a heavy-duty kit rated for mph winds and hail (00:10–00:22) — that’s worth prioritizing if you get severe storms. For most small homesteads, double-wall polycarbonate offers an R-value around 1.6–2.0, strong hail impact resistance, and lower cost than glass.
Can I grow year-round in a greenhouse?
Yes — you can grow year-round with the right mix of buffering, ventilation, and light. Jill aims to keep the greenhouse around 50°F over winter with buried pipes (08:10–08:50) and observed interior temps near 60°F while snow fell outside (video, 00:12). Add supplemental LEDs and a small backup heater for cold snaps.
Is hydroponics better than soil in a greenhouse?
It depends on your goals. Hydroponics can use up to 90% less water and increase leafy-crop yields 20–50%, while soil beds are cheaper, support broader biodiversity, and are more forgiving for beginners. The creator explains she’s using framed in-ground beds and plans to pilot a hydroponic tower for leafy greens (03:50–04:20, 05:05–05:50).
How do I automate ventilation and watering?
Use thermostat-linked vent openers for vents and timers or soil-moisture controllers for irrigation. The video shows trenches for water lines and the plan for an automated hydrant (02:55–03:40), and Jill explicitly wants automated vents because manual venting would be unreliable (08:45).
What are low-cost ways to improve greenhouse efficiency?
Pavers for walkways, framed in-ground beds, and staged automation purchases give high gains for low cost. Jill chose paver bricks over mulch for cleaner paths and used pine boards for tidy in-ground beds (03:30–04:10). Start with a good frame and glazing, then add fans, vent openers, and irrigation timers as budget allows.
Key Takeaways
- Prioritize structural durability (wind/hail ratings) and double-wall polycarbonate to balance insulation and impact resistance.
- Design for access: ≤4 ft side beds, 5–6 ft center bed, and minimum 16″ aisles—this layout reduces labor and enables vertical trellising.
- Start with in-ground framed beds and pilot one hydroponic tower; automate vents and irrigation early to cut human error.
- Stage expensive systems (geothermal, full hydroponic conversion). Add them after core systems (frame, glazing, irrigation, vents) are proven.
- Use the creator’s plan and timestamps to sequence work: trench utilities, install beds, set up irrigation, then focus on crops and automation.