
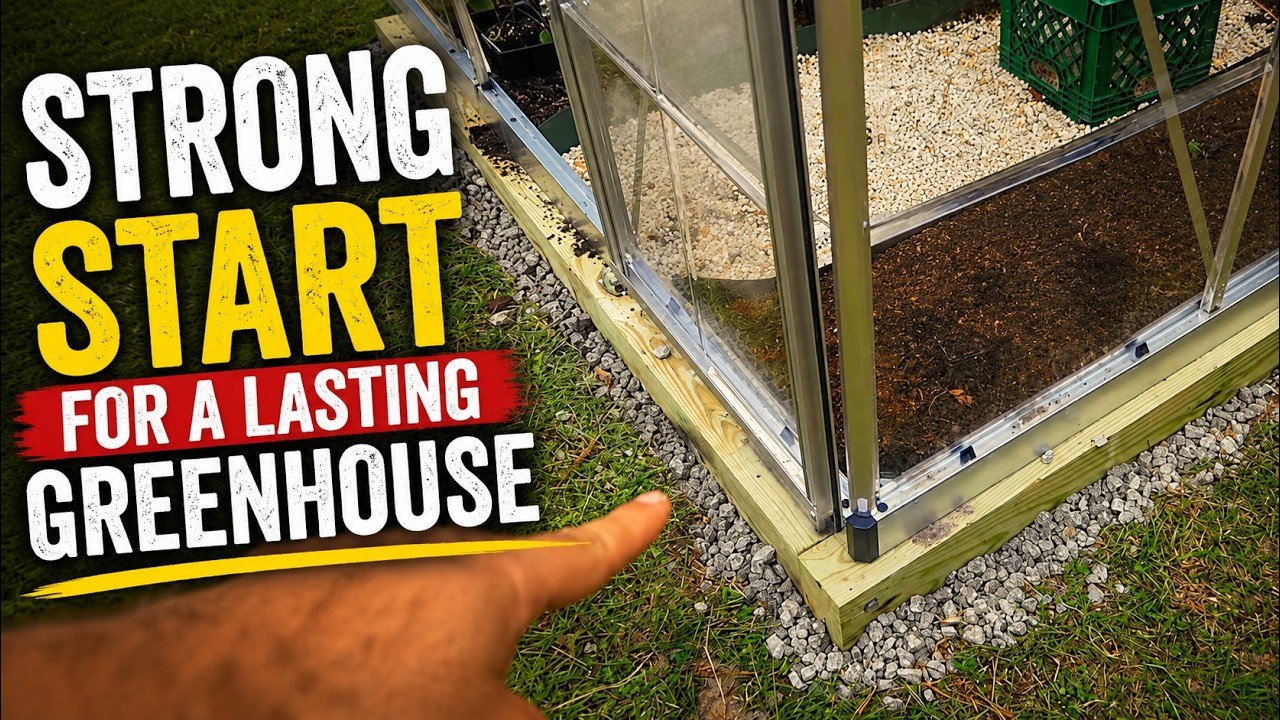
TL;DR: Greenhouse Foundation Key Takeaways
A greenhouse foundation should be chosen around your structure, drainage, frost risk, flooring, glazing weight, and long-term use—not copied from a one-size-fits-all plan. In the opening of the Sandy Bottom Homestead video at 0:00, the creator explains, “There are many ways to build it but this is the method I used,” which is the right mindset for any backyard greenhouse project.
You can watch the original Sandy Bottom Homestead video here: How to Build Greenhouse Foundation. The written article expands that short demonstration into a planning resource for a DIY greenhouse, lean-to greenhouse, walk-in greenhouse, greenhouse attached to house, or greenhouse off garage.
- Level the site before you place timber, gravel, concrete, brick, or masonry.
- Confirm drainage so water moves away from the frame, doors, and flooring.
- Choose the foundation type based on size, glazing weight, frost depth, and permanence.
- Plan anchor points before wind turns the structure into a sail.
- Check permits, especially for electrical service, plumbing, concrete, or attached designs.
- Select flooring early because gravel, brick, concrete, and pavers all change the finished height.
- Match the design to your climate conditions, including snow, wind, heat, and heavy rainfall patterns.
As demonstrated in the video, the value is practical: you see one builder’s method for getting a greenhouse started on a stable base. Here, you’ll also get cost ranges, material comparisons, climate planning, glazing choices, and plant layout ideas that go beyond the short transcript.
What the Sandy Bottom Homestead Video Shows
According to Sandy Bottom Homestead at 0:00, the project is not presented as the only correct method. That matters. A greenhouse foundation that works in sandy soil for a small backyard greenhouse may fail in clay soil under a heavy glass greenhouse, and a light timber base that handles a polycarbonate kit may not be suitable for a permanent conservatory greenhouse.
The video’s core lesson is practical rather than theoretical: build a base that supports your actual greenhouse. This article takes that idea and expands it for small greenhouse kits, large greenhouse projects, cottage-style shed conversions, garden shed upgrades, black greenhouse frames, modern greenhouse design plans, Victorian greenhouse styles, and luxury greenhouse builds.
The foundation matters because it keeps the greenhouse square. If the base is out by even 1/2 inch over feet, doors can rub, roof panels can shift, and glazing may not sit evenly. A stable base also reduces frame twisting, supports glazing weight, improves door alignment, manages water, and gives you a reliable platform for a brick floor greenhouse or gravel floor.
The main failure risks are predictable: frost heave in cold climates, wind uplift in exposed gardens, rot under untreated wood, settlement under heavy glass walls, and water pooling around reclaimed windows and doors in a salvage greenhouse. In our experience reviewing backyard greenhouse builds, most problems start at the base—not at the roof.
Choosing the Right Greenhouse Foundation for Your Build
A greenhouse foundation should match the weight, shape, climate exposure, and intended lifespan of the greenhouse. The creator explains at 0:00 that many methods can work, which is exactly why you should compare options before buying lumber or pouring concrete.
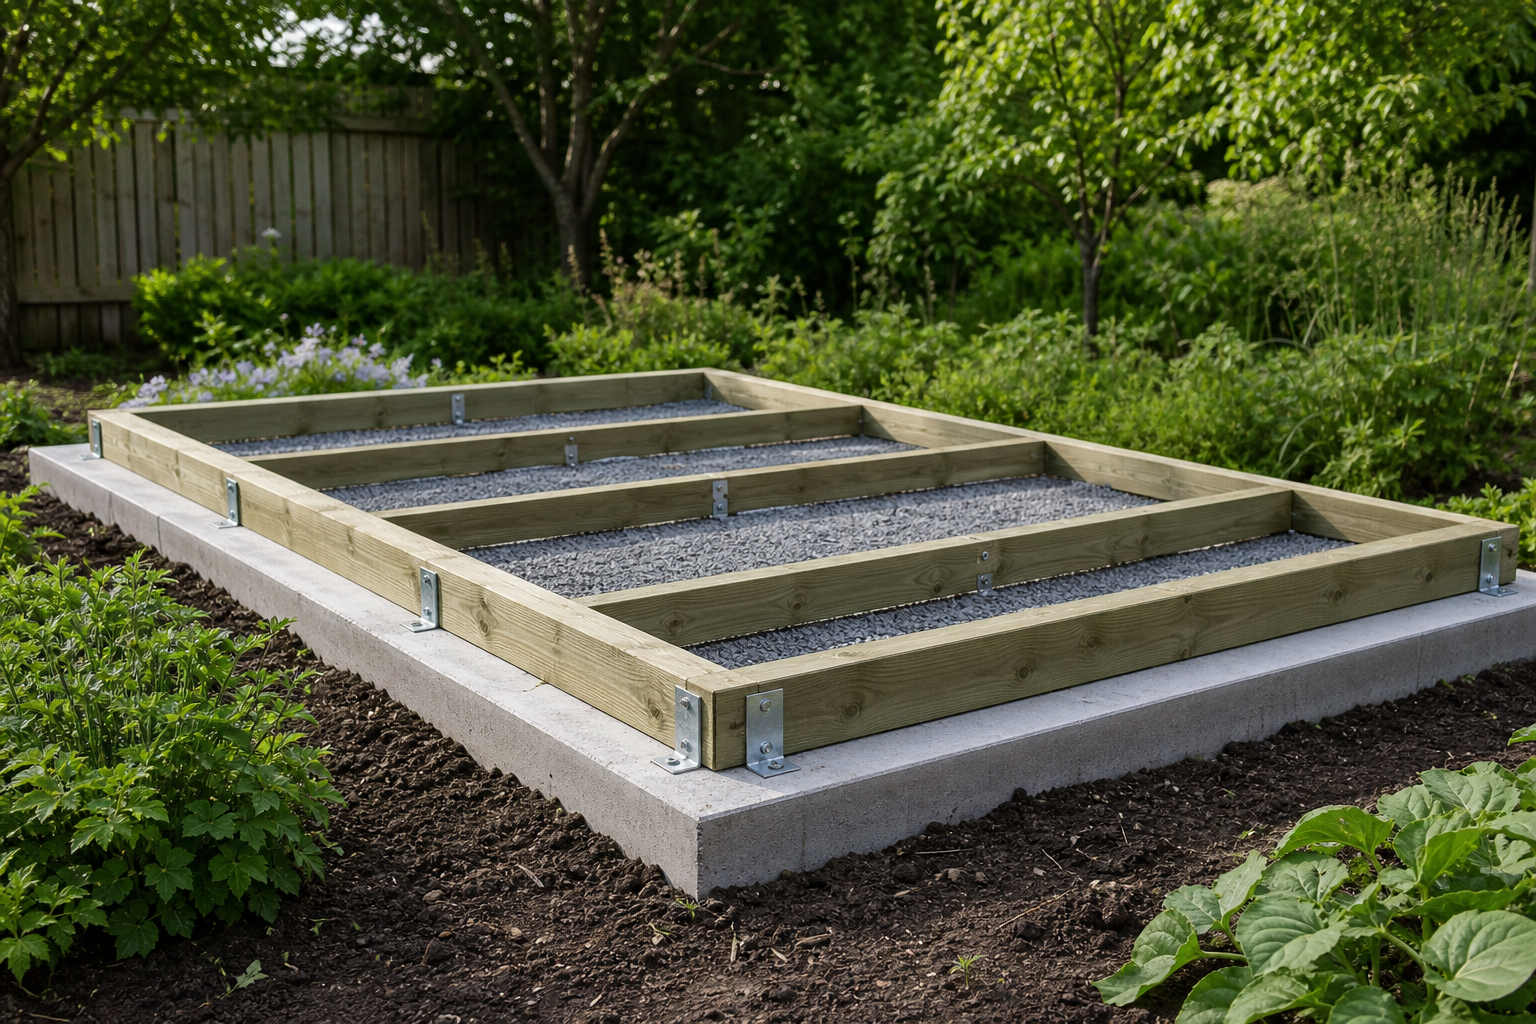
Common choices include a pressure-treated timber base, concrete slab, concrete footings, pier blocks, gravel pad with a perimeter frame, brick base, or masonry curb. A lightweight DIY greenhouse with polyethylene film might only need a well-compacted gravel pad and anchored timber frame. A glass greenhouse, brick greenhouse, Victorian greenhouse, or conservatory greenhouse usually needs a stiffer base because glass is heavy, brittle, and less forgiving when the frame moves.
- Timber or gravel base: Good for lightweight walk-in greenhouse kits and budget backyard greenhouse builds.
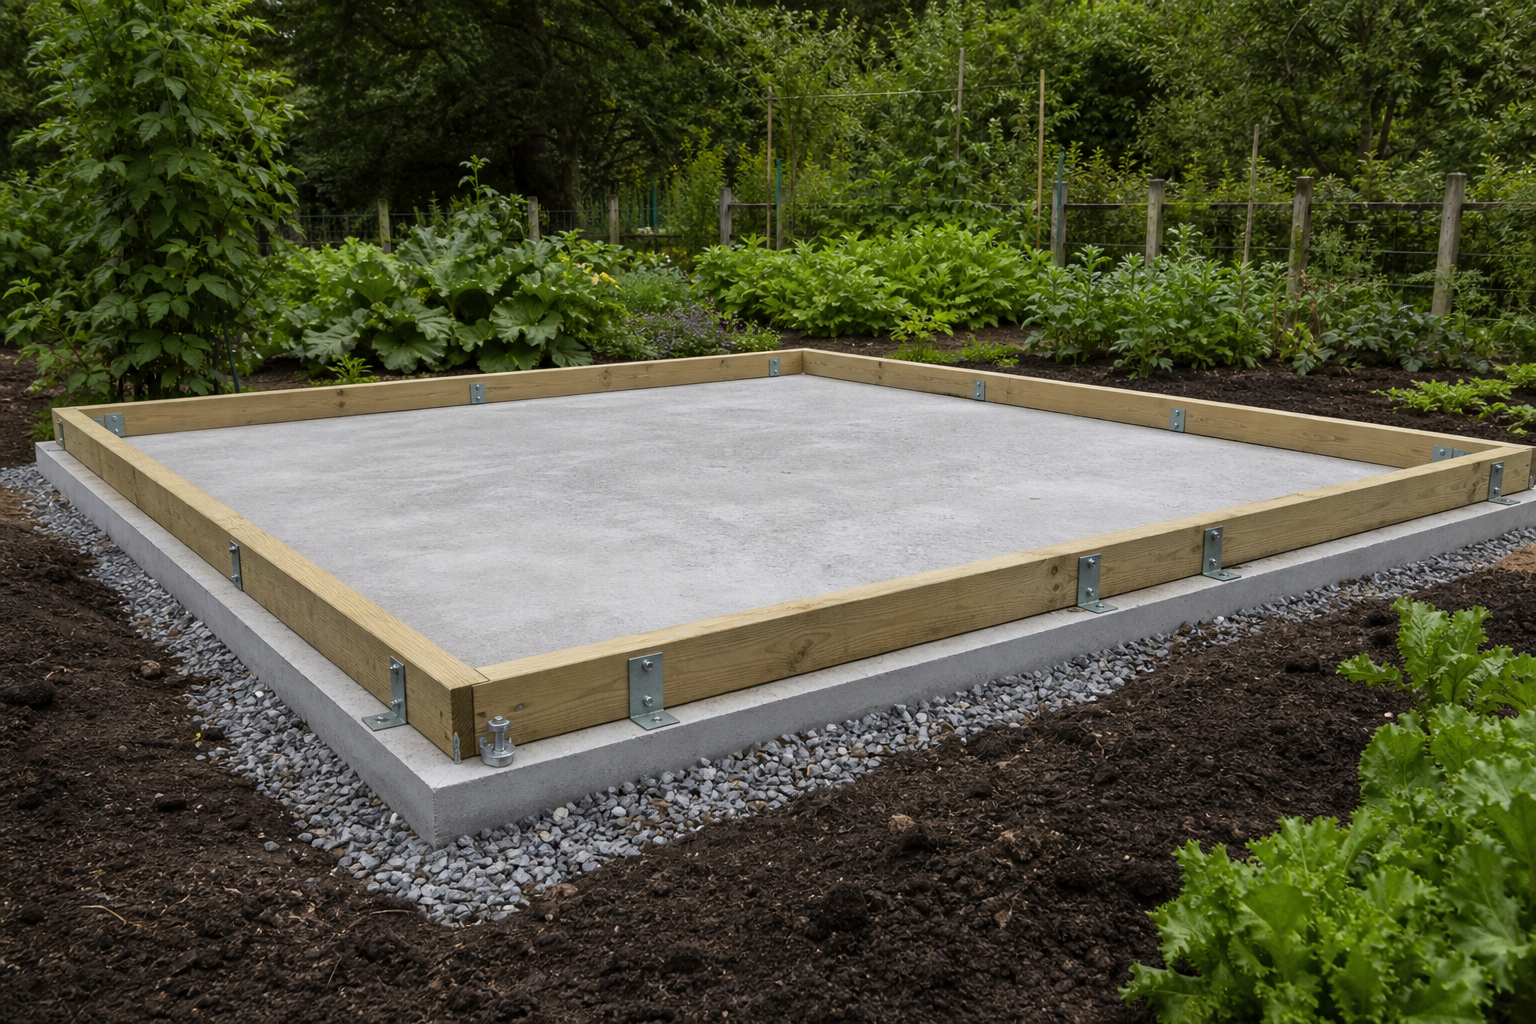
- Concrete slab: Durable, easy to clean, and useful for greenhouse interiors that function like a garden room.
- Concrete footings: Better for heavy frames, frost-prone regions, or exposed wind sites.
- Masonry curb or brick base: Excellent for brick greenhouse, Victorian greenhouse, and luxury greenhouse designs.
- Pier blocks: Useful for small structures, but only if the greenhouse can be securely anchored.
Use seven selection criteria: local frost depth, roof load, glazing material, drainage slope, door threshold height, budget, and secondary use. If your greenhouse will double as a she shed, indoor-outdoor living space, or garden room, build for comfort as well as plants. That often means wider paths, cleaner flooring, electrical planning, and a foundation that won’t shift after one freeze-thaw season.
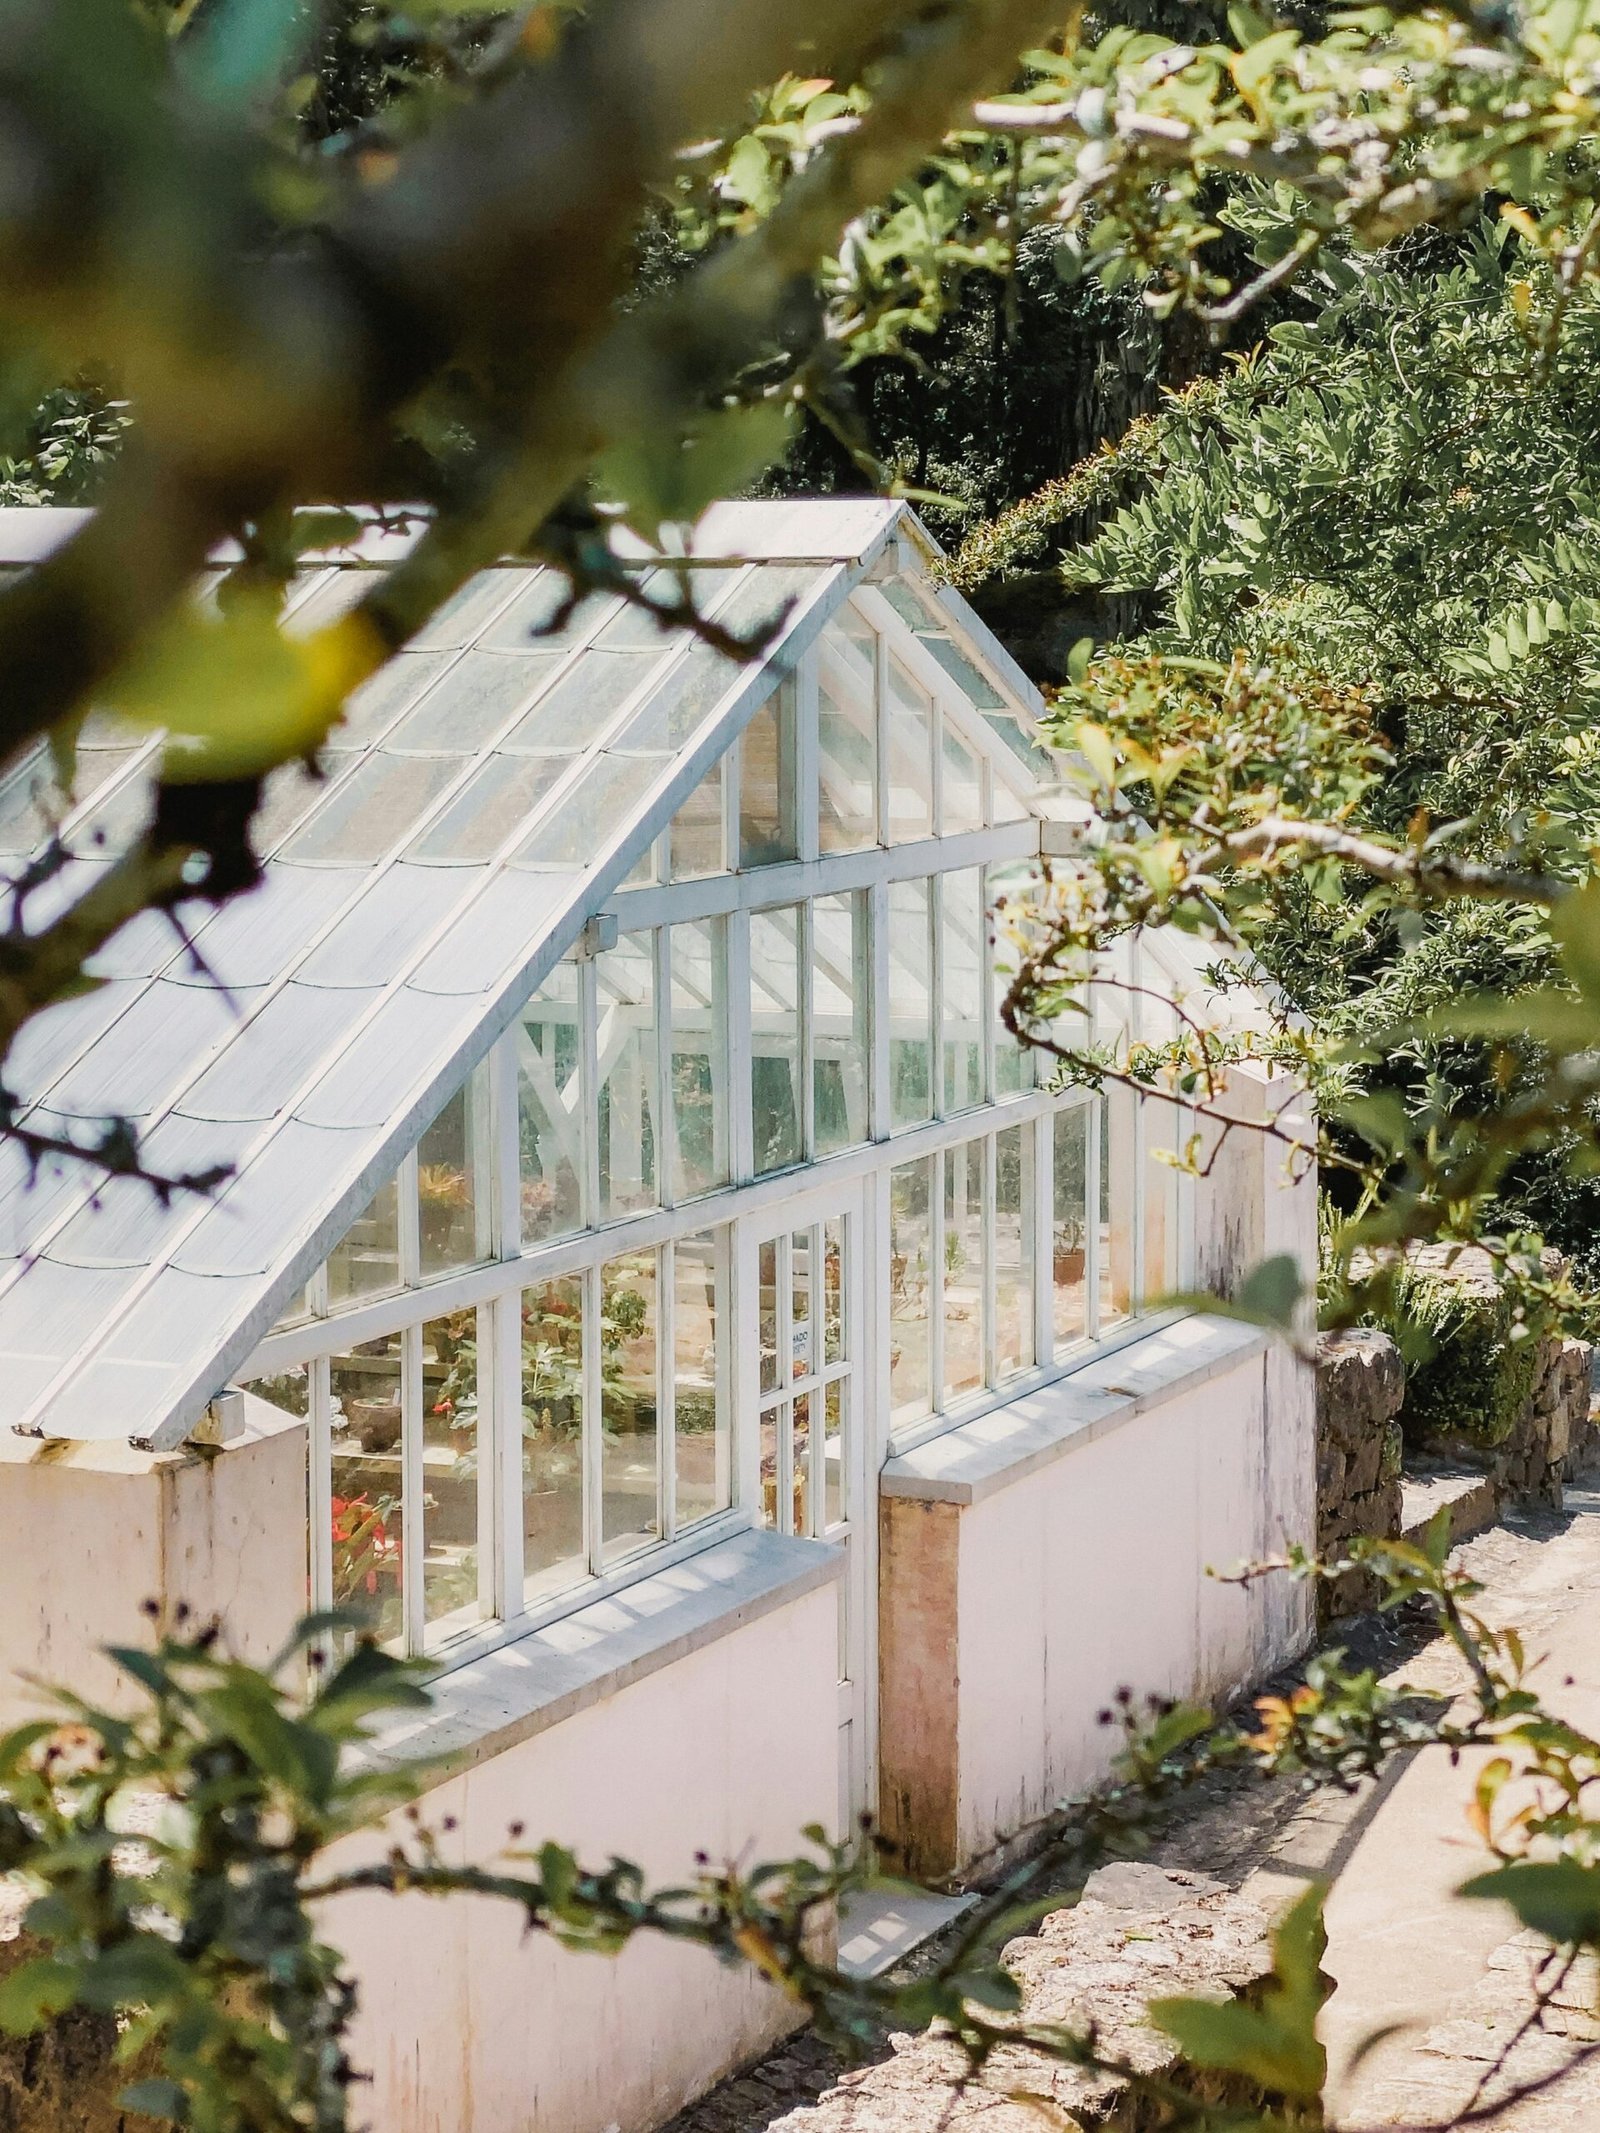
Step-by-Step Greenhouse Foundation Build Plan
The video demonstrates the starting point: choose a method that works for your greenhouse. To turn that into a repeatable build plan, treat the foundation like a small structure, not a landscaping afterthought. A well-built greenhouse foundation begins with measuring, squaring, drainage, and anchoring.
- Pick the location. Choose a level area with sunlight, hose access, and room to walk around all sides. Leave at least 24 to inches of clearance outside the walls for maintenance.
- Mark the footprint. Use stakes and string lines to define the exact greenhouse size.
- Square the corners. Measure diagonally from corner to corner. The two diagonal measurements must match.
- Remove organic material. Strip grass, roots, loose topsoil, and mulch so the base doesn’t settle.
- Level and compact the base. Use a hand tamper or plate compactor. For gravel pads, install compacted layers rather than dumping all gravel at once.
- Install drainage. Slope the sub-base slightly away from doors and add drainage pipe where water collects.
- Place the frame, forms, footings, or masonry. Confirm dimensions again before fastening or pouring concrete.
- Anchor the greenhouse. Follow the manufacturer’s anchor spacing. Heavy wind zones may need deeper posts, bolts, or piers.
- Test door clearance. Check thresholds before flooring raises the finished height.
Useful tools include a tape measure, string line, stakes, level or laser level, shovel, rake, tamper, drill/driver, circular saw, masonry bit, post-hole digger, wheelbarrow, gloves, eye protection, and hearing protection. Before you build, check local rules for large greenhouse structures, greenhouse attached to house designs, electrical service, plumbing, concrete work, and permanent garden room conversions.
Greenhouse Foundation Costs by Size and Material
Greenhouse foundation costs vary widely because a small salvage greenhouse can sit on compacted gravel and timber, while a luxury greenhouse may need excavation, reinforced concrete, masonry, drainage, electrical conduit, and professional labor. Sandy Bottom Homestead shows one practical DIY approach, but because the creator explains that there are many ways to build it, your budget should adapt to your structure instead of copying a fixed shopping list.
For planning, rough material-only ranges often look like this: a small gravel-and-timber base may land around $150 to $700, a mid-size walk-in greenhouse foundation may run $700 to $2,500, and a large greenhouse with concrete, masonry, and drainage can reach $3,000 to $12,000+ before premium glazing or interior finishes. Labor can double those numbers in some markets, especially where excavation, forms, concrete delivery, or masonry are required.
- Site prep: grading, root removal, hauling soil, and compacting base layers.
- Base materials: pressure-treated lumber, concrete, brick, block, gravel, rebar, or pavers.
- Anchors: bolts, brackets, ground anchors, hurricane ties, or post bases.
- Moisture control: vapor barrier, drainage pipe, landscape fabric, and edging.
- Flooring: gravel, brick, concrete, pavers, tile, or reclaimed materials.
- Utilities: water line, outlets, lighting, fans, heaters, or hydroponic equipment.
A basic salvage greenhouse using reclaimed windows and doors may save on glazing but cost more in framing time because old windows are rarely uniform. A mid-range polycarbonate walk-in greenhouse usually balances cost and performance. A high-end conservatory greenhouse, Victorian greenhouse, or black greenhouse with glass panels needs a heavier budget because precision and stiffness matter.
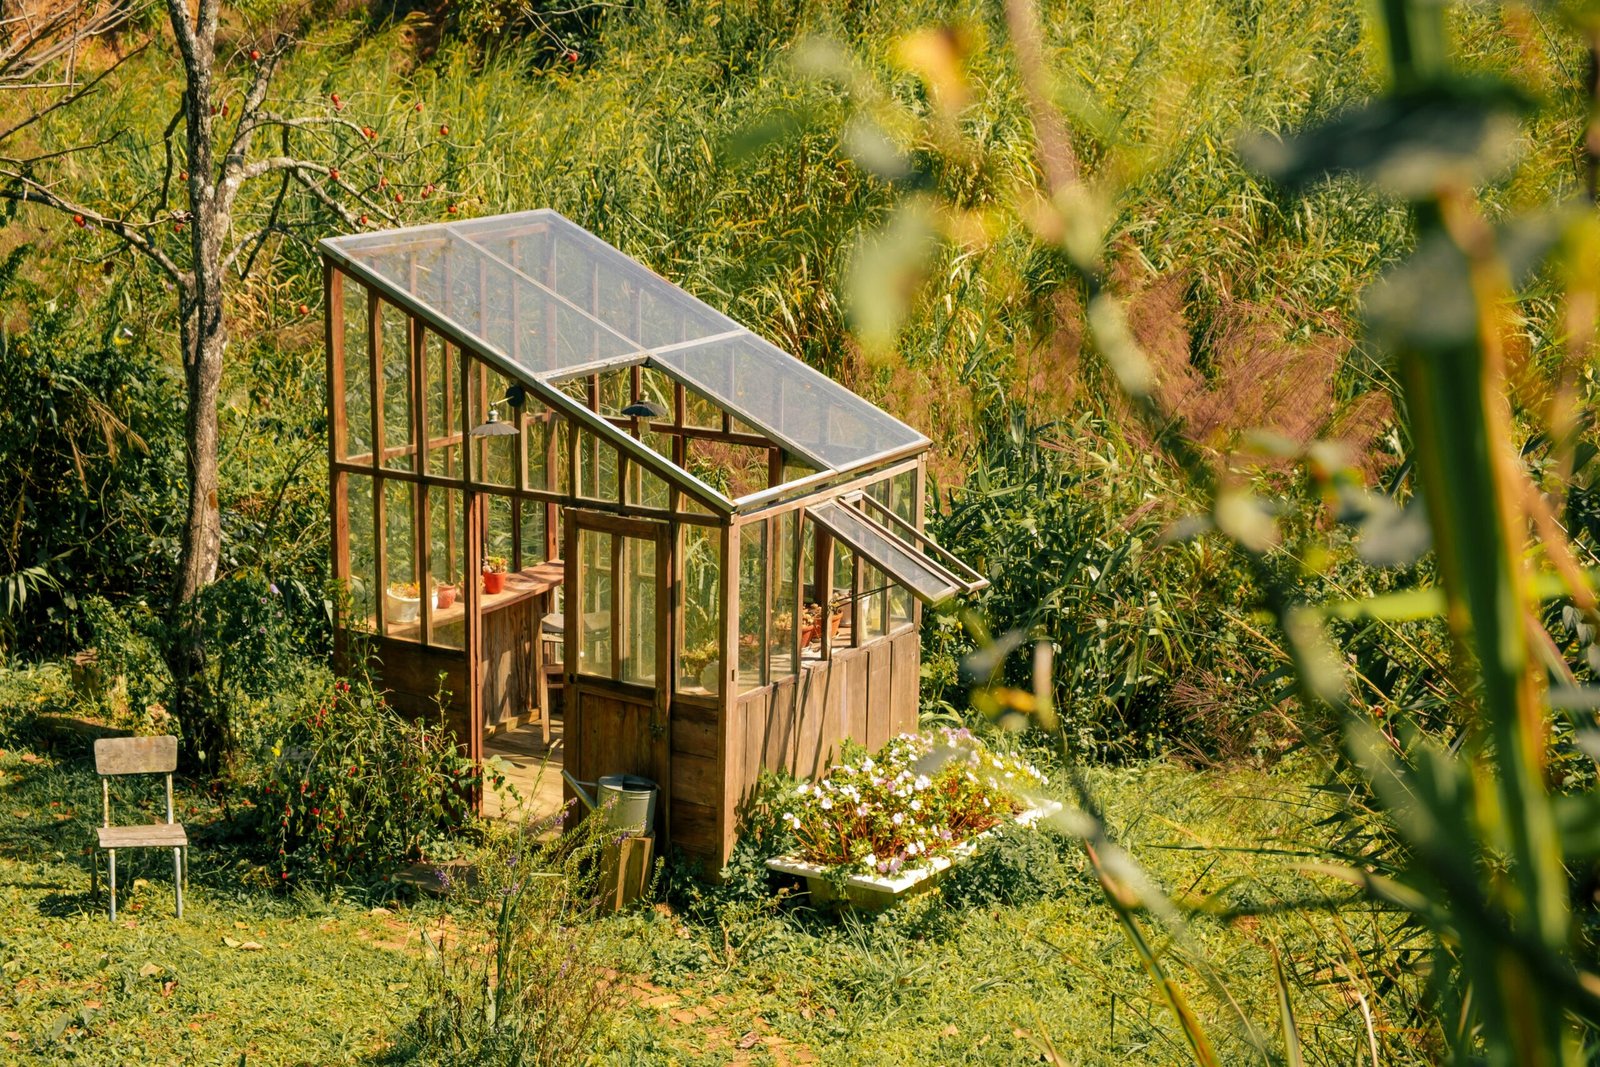
Climate-Specific Greenhouse Foundation Design
A greenhouse foundation must respond to climate. A plan that works in a mild coastal garden may crack, lift, flood, or overheat somewhere else. The foundation controls how the greenhouse handles frost, standing water, high wind, snow load, and summer heat.
In cold and snowy regions, use footings below local frost depth where required. In many cold areas, frost depth can range from 24 inches to inches or more, so shallow blocks may move as the ground freezes and thaws. Raise the threshold slightly, slope paths away from the entrance, and consider insulated knee walls or perimeter insulation to reduce heat loss. Roof angle also matters: snow-shedding roofs reduce weight, while low-slope roofs may need stronger rafters and more frequent clearing.
In hot regions, prioritize shade timing, ventilation, and surfaces that don’t store too much daytime heat. Light-colored gravel or pale pavers around the greenhouse can reduce reflected heat compared with dark stone or asphalt. Ventilation gaps near the base can help airflow, but screen them carefully to keep out rodents, insects, and snakes.
In windy regions, uplift protection is non-negotiable. Use anchor bolts, hurricane ties, deeper posts, concrete piers, low-profile placement, windbreak planting, and reinforced frames for polycarbonate, acrylic, glass, or polyethylene film. In wet regions, add perimeter drainage and avoid burying untreated wood. In drought-prone areas, design the floor and foundation so spilled irrigation water can be captured or directed toward planting beds instead of wasted.
Flooring Ideas: Brick, Gravel, Concrete, and More
Greenhouse flooring ideas should be chosen with the foundation, not after it. Flooring changes drainage, finished height, cleaning routine, comfort, thermal mass, and the overall feel of your greenhouse interiors. Gravel, brick, concrete, pavers, packed soil, mulch, and tile all behave differently under daily watering.
Gravel is affordable, drains well, and works nicely with a DIY greenhouse or walk-in greenhouse. A typical build uses 3 to inches of compacted crushed stone over a stable sub-base. It’s forgiving, but carts can be harder to roll and spilled potting mix may disappear into the stone.
A brick floor greenhouse adds charm, grip, and thermal mass. Use a compacted base, sand setting bed, edge restraints, slight slope for drainage, and gaps that allow water to move away from work areas. Reclaimed brick is especially fitting for a brick greenhouse, cottage-style shed, Victorian greenhouse, or salvage greenhouse built with reclaimed windows and doors.
Concrete is durable and easy to clean, which helps if your greenhouse doubles as a garden room, she shed, or indoor-outdoor living space. It can be slippery when wet unless broom-finished or textured. Modern greenhouse design and black greenhouse frames often pair well with poured concrete, large-format pavers, or clean gravel borders.
Whatever you choose, keep paths at least 24 inches wide for basic access and closer to 30 to inches if you’ll use carts, seedling racks, or mobility aids. Leave hose access, avoid trip edges at doors, and choose materials that tolerate spilled compost, fertilizer, and standing moisture.
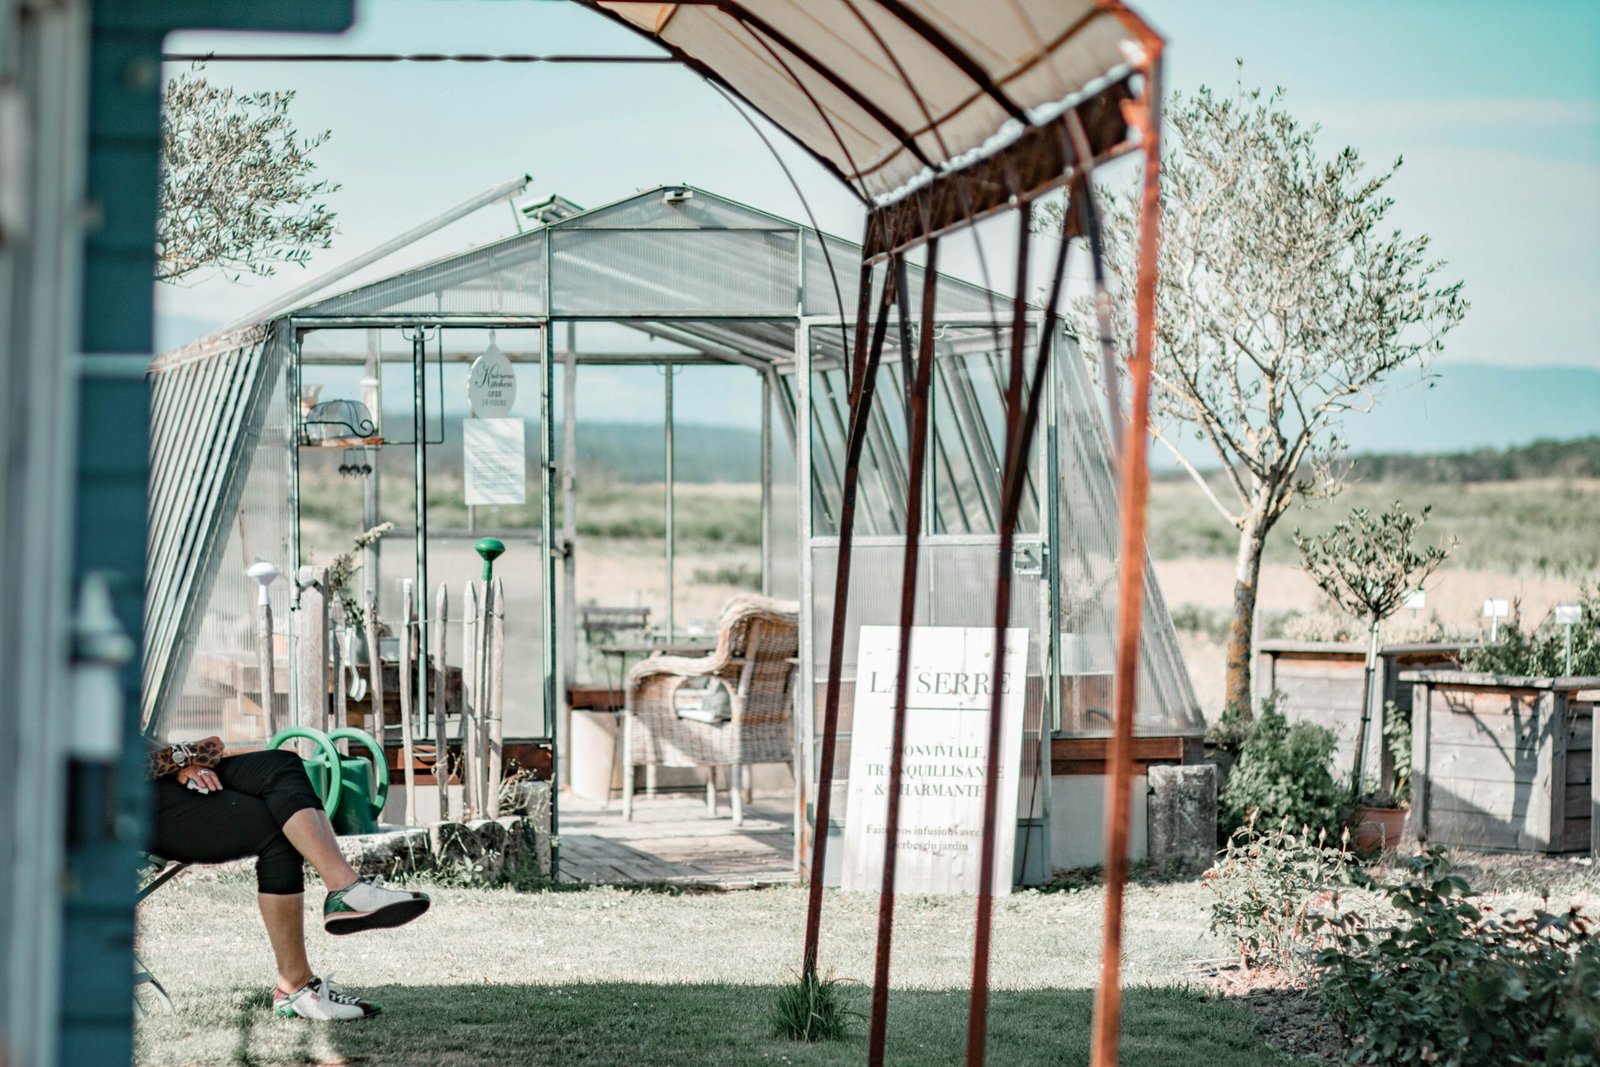
Glazing, Ventilation, and Energy Efficiency Choices
Glazing affects the foundation more than many first-time builders expect. A glass greenhouse is beautiful, bright, and traditional, but glass is heavy and needs a square, stiff base. Polycarbonate is lighter, insulating, and impact-resistant. Acrylic is clear and attractive but scratches more easily. Polyethylene film is inexpensive and common for simple growing structures, but it usually needs replacement more often than rigid panels.
As demonstrated in the video, the foundation comes before the greenhouse frame. That sequence matters because once the base is out of square, every glazing panel has to fight that error. A conservatory greenhouse, brick greenhouse, or luxury greenhouse with glass and masonry should usually sit on concrete footings, a slab edge, or a masonry curb. A lightweight DIY greenhouse, salvage greenhouse, or polycarbonate walk-in greenhouse can often work on a timber-and-gravel base if it’s well anchored.
Energy efficiency starts with orientation. In cold climates, a south-facing greenhouse can capture passive solar gain, while foundation perimeter insulation reduces heat loss at the base. Water barrels, brick flooring, masonry walls, and stone paths add thermal mass, storing daytime heat and releasing it slowly at night. Even a few 55-gallon water barrels can help moderate temperature swings in a small backyard greenhouse.
Ventilation choices include roof vents, side vents, automatic openers, exhaust fans, intake louvers, and shade cloth. Roof vents release hot air, side vents improve crossflow, and automatic wax-cylinder openers can work without electricity. For vegetables, herbs, seedlings, hydroponics, and year-round growing, plan vents before framing so airflow reaches the full greenhouse rather than just the doorway.
Plant Layout Ideas for a Productive Backyard Greenhouse
Your plant layout should be decided before the greenhouse foundation is finalized because beds, benches, shelves, hoses, drains, and seating all affect the base. It’s much easier to adjust a string line than to move a concrete threshold after the greenhouse is assembled.
For vegetables, place raised beds along the long sides and keep a central path wide enough for watering cans, trays, and harvest baskets. Tomatoes, peppers, cucumbers, and eggplants need headroom, so avoid placing tall crops under low sidewalls. Herbs work well near the door because you’ll grab them often, and quick access prevents heat loss in winter.
Seedlings benefit from south-facing shelves in cold climates, but in hot climates they may need shade cloth or lower benches to avoid overheating. Hydroponics can run along one wall if you plan electrical outlets, water access, and a clean drainage route. Overwintering citrus, figs, or tender perennials should sit where temperatures are most stable, often away from drafty doors and thin glazing.
If the greenhouse is also a she shed, garden room, indoor-outdoor living area, or luxury greenhouse, separate wet growing zones from seating zones. Use brick, tile, or pavers where people sit, and gravel or trays where watering is frequent. A greenhouse attached to house or greenhouse off garage can share utilities and feel like a conservatory greenhouse, but it needs careful flashing, drainage, foundation attachment details, and code review before construction.
What is the best foundation for a greenhouse?
The best foundation depends on greenhouse size, climate, glazing weight, and permanence. As Sandy Bottom Homestead explains at 0:00, there are many valid methods, so a timber base may be right for a small DIY greenhouse while concrete footings may be right for a large glass greenhouse.
Does a greenhouse need a concrete foundation?
No, concrete is not always required. Gravel and timber can work for many lightweight backyard greenhouse and walk-in greenhouse kits, but concrete is often a better choice for a large greenhouse, glass greenhouse, brick greenhouse, or permanent garden room.
Can I build a greenhouse on gravel?
Yes, gravel works well when the greenhouse is smaller, properly anchored, and located on a compacted, level base. It is especially useful where drainage is a priority, although you should use edging or a perimeter frame to keep the gravel from spreading.
How do you anchor a greenhouse to the ground?
Use manufacturer-approved anchors whenever possible. Common options include anchor bolts into concrete, ground anchors, concrete piers, timber screws, brackets, post bases, and hurricane ties for windy or snowy regions.
What is the cheapest greenhouse floor?
Packed soil, mulch, and gravel are usually the cheapest greenhouse floor options. Gravel typically offers the best balance of low cost and drainage, while reclaimed brick or pavers may cost more in labor but create a stronger cottage-style shed or garden room feel.
Can I build a greenhouse with reclaimed windows and doors?
Yes, a salvage greenhouse can be beautiful and practical, especially if you like reclaimed windows and doors. Plan for uneven sizes, added weight, stronger framing, good flashing, and a foundation that keeps the walls square so old glass doesn’t bind or crack.
Final Greenhouse Foundation Planning Checklist
A lasting greenhouse foundation starts with matching the base to the greenhouse you’re actually building. The Sandy Bottom Homestead video gives you a helpful DIY starting point, and the creator’s reminder at 0:00 is the key takeaway: many methods can work, but the right one depends on your site and structure.
Before you buy materials, write down five decisions: greenhouse size, glazing type, local frost risk, flooring choice, and whether the structure will be temporary or permanent. Then measure the site, confirm drainage, check local rules, and choose a foundation that can handle the load. If you’re building a lean-to greenhouse, greenhouse attached to house, or greenhouse off garage, get extra advice on flashing, drainage, utilities, and code requirements.
Your next step is simple: mark the footprint with stakes and string, square the diagonals, and test the layout before committing to lumber, gravel, concrete, brick, or masonry. That one dry run can prevent crooked doors, trapped water, cracked glazing, and expensive rebuilds later.
Key Takeaways
- Choose the greenhouse foundation based on your structure, climate, drainage, glazing weight, and long-term use.
- Square the base carefully by matching diagonal measurements before installing the frame or pouring concrete.
- Gravel and timber can work for many DIY greenhouse kits, while glass, brick, Victorian, and conservatory greenhouse builds usually need stronger foundations.
- Plan flooring, ventilation, utilities, and plant layout before finalizing the foundation height and footprint.
- Watch the Sandy Bottom Homestead video for the original DIY demonstration, then adapt the method to your soil, budget, and local conditions.
Frequently Asked Questions
What is the best foundation for a greenhouse?
The best greenhouse foundation depends on the greenhouse size, climate, glazing weight, and whether the structure is temporary or permanent. Sandy Bottom Homestead notes at 0:00 that there are many ways to build one, so the right answer changes by project.
Does a greenhouse need a concrete foundation?
Not always. Concrete is useful for a large greenhouse, glass greenhouse, brick greenhouse, conservatory greenhouse, or permanent garden room, but many lightweight DIY greenhouse kits can use gravel, timber, piers, or a framed base.
Can I build a greenhouse on gravel?
Yes, gravel is a good option for smaller walk-in greenhouse kits, high-drainage sites, and lower-budget builds. The base still needs to be compacted, level, contained with edging or a frame, and anchored against wind.
How do you anchor a greenhouse to the ground?
You can use anchor bolts, ground anchors, concrete piers, timber screws, brackets, post bases, or hurricane ties. Always follow the greenhouse manufacturer’s hardware recommendations, especially in windy or snowy climates.
What is the cheapest greenhouse floor?
Packed soil, mulch, and gravel are usually the cheapest. Gravel is often the most practical low-cost floor because it drains well, while reclaimed brick or pavers add charm but usually require more base preparation and labor.
Can I build a greenhouse with reclaimed windows and doors?
Yes, a salvage greenhouse made with reclaimed windows and doors can work well. You need a square, stable foundation because older windows vary in size, add weight, and require careful framing and waterproofing.